Configuring access control in Siren Investigate
This section describes how to configure the Siren Investigate access control list (ACL) system. The ACL system allows you to define access rules for saved objects and to control access to parts of the user interface.
Prerequisites
Before you begin, ensure that Siren Investigate has been configured to work with the security system that is enabled in your Elasticsearch cluster.
For systems that use Elasticsearch security, see the Elastic Stack security overview.
For systems that use Search Guard Classic, see the Search Guard Classic overview.
The Access Control app
To manage ACL rules and authentication resources, log into Siren Investigate as a user with an administrative role, such as sirenadmin and open the Access Control app.
The Authentication tab
The Authentication tab allows you to browse, edit and create the following resources:
-
Internal users
-
Roles
-
Role mappings
-
Action groups (only applicable when using Search Guard Classic)
To see the list of roles that are defined in the system, click Roles then click Open.
|
If you get an error when you try to open the Authentication tab, your user might not be authorized to use the REST API.
Open the |
The ACL tab
The ACL tab allows you to define Siren Investigate roles, which are collections of permissions for saved objects and UI elements.
Each Siren Investigate role can be mapped to one or more Elasticsearch roles.
For each Siren Investigate role, you can define three kinds of rules:
-
Dataspace rules: Permissions for dataspaces, like create, view, delete, and change. We recommended that you limit a user’s permissions. Most users require Create permissions only in order to create and share dataspaces. Users can operate on any dataspace that is either created by them or shared with them. For this reason, permissions such as, View, Change, and Delete, are more suitable for admin type roles. Adding View and Change permissions is equivalent to the admin permissions as such the user can view and change the sharing settings of any dataspace.
-
Saved object rules: Permissions for saved object types, such as dashboards and visualizations.
-
UI rules: Permissions for the visibility of user interface elements, for example, to block access to the Siren Alert app or the Export CSV button.
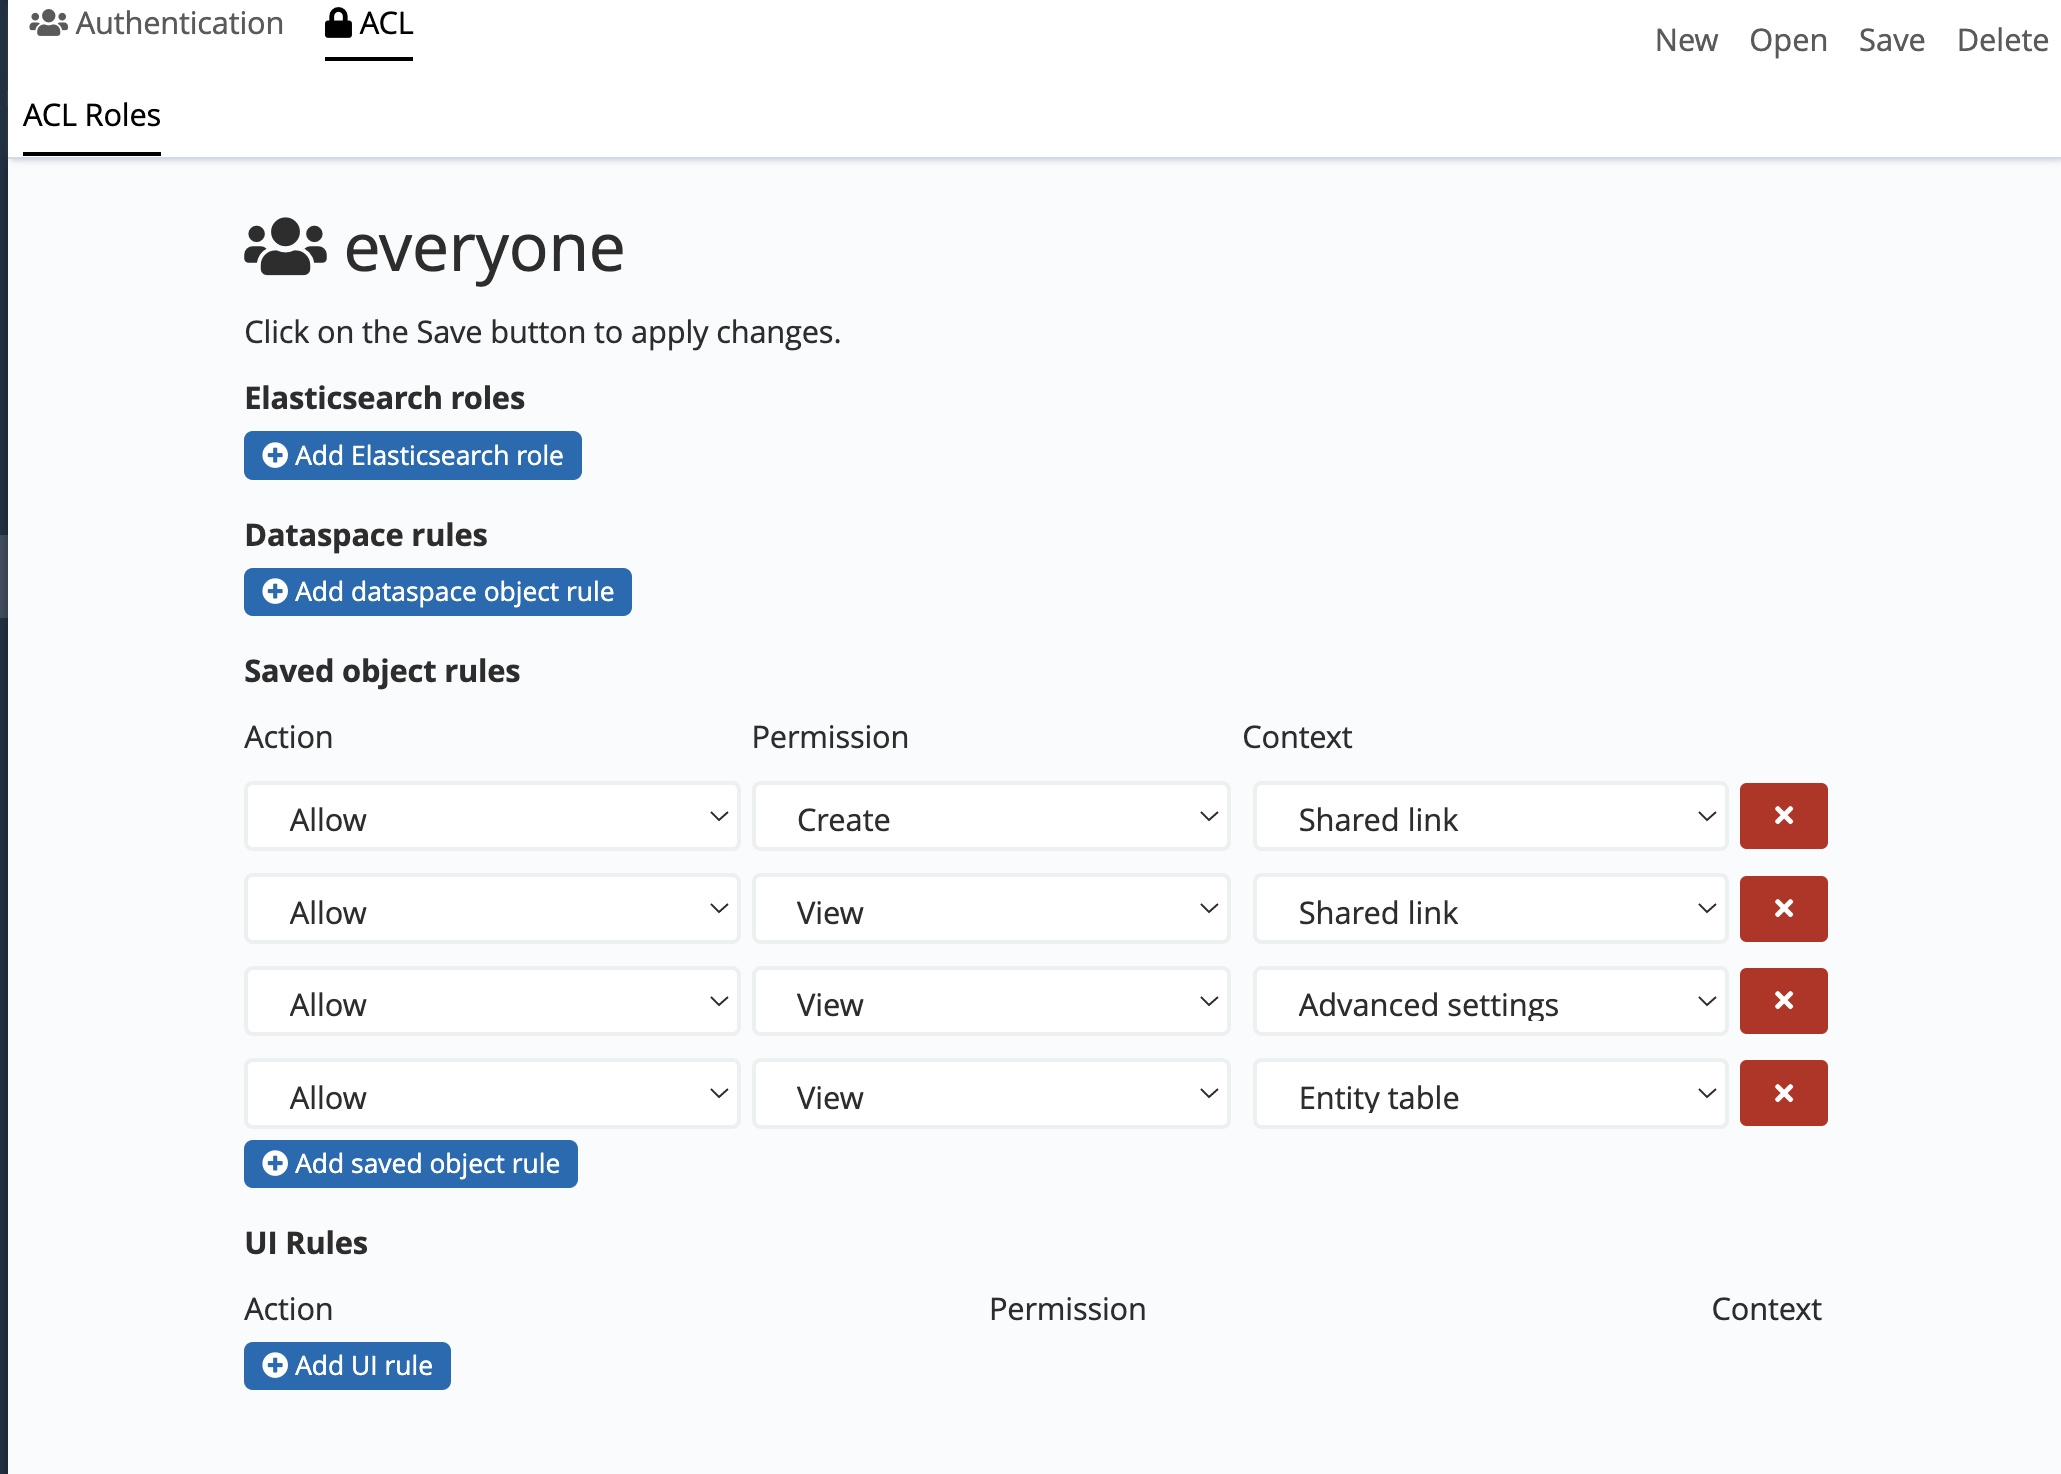
The everyone role defines the default permissions for all of the users in the
system. By default, it grants the following permissions:
-
Read-only access to the Siren Investigate configuration in Advanced settings, entity tables and index patterns.
-
Permission to view all applications and UI elements.

Usually, it is not required to create explicit UI rules for the Dashboard application, because access to specific dashboards can be restricted by using saved object rules.
For most setups it makes sense to grant view permissions on visualizations as well, then set specific permissions on dashboards and sidebar groups for each role.
When a user does not have permission to view an application or section, or such permission is explicitly denied, the system will hide links in the navigation menu and deny access when these are accessed through a direct link.
Defining a new ACL role
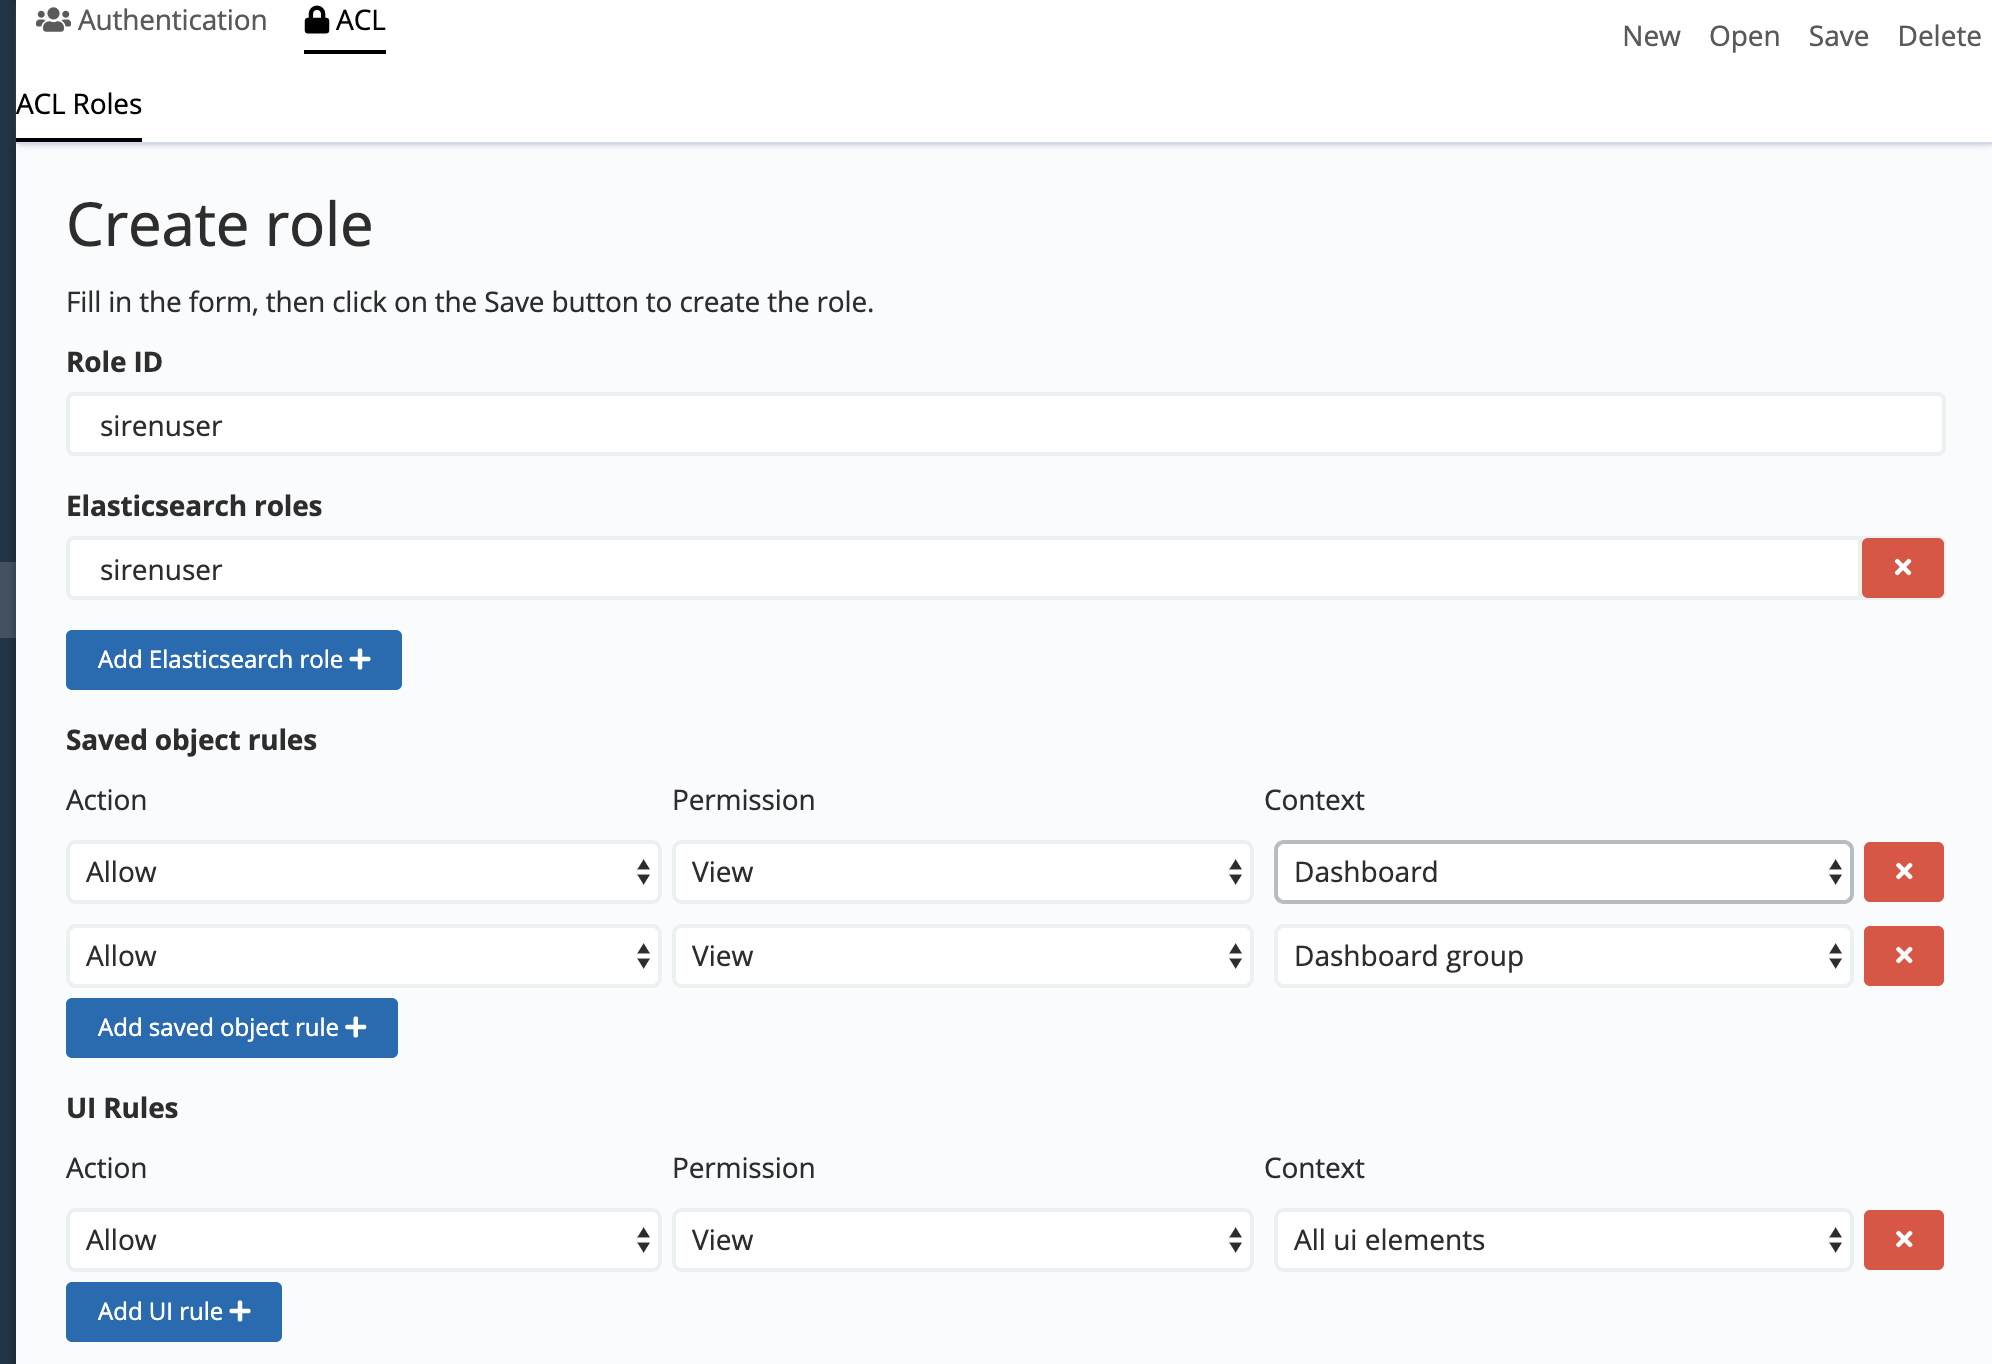
To define a new role, click Create role, then set the following parameters:
-
Role ID: The ID of the role, for example,sirenuser. The role ID must be a lowercase, alphanumeric string. -
Elasticsearch roles: The Elasticsearch roles that will be mapped to this Siren Investigate role, for example,sirenuser. -
Saved object rules: The list of rules for saved object types. -
UI Rules: The list of rules for UI elements.
Each rule is defined by the following three parameters:
-
Action: Allow or deny.
-
Permission: The permission to allow or deny.
-
Context: The saved object type or UI element on which the permission is enforced.

Defining permissions for saved objects
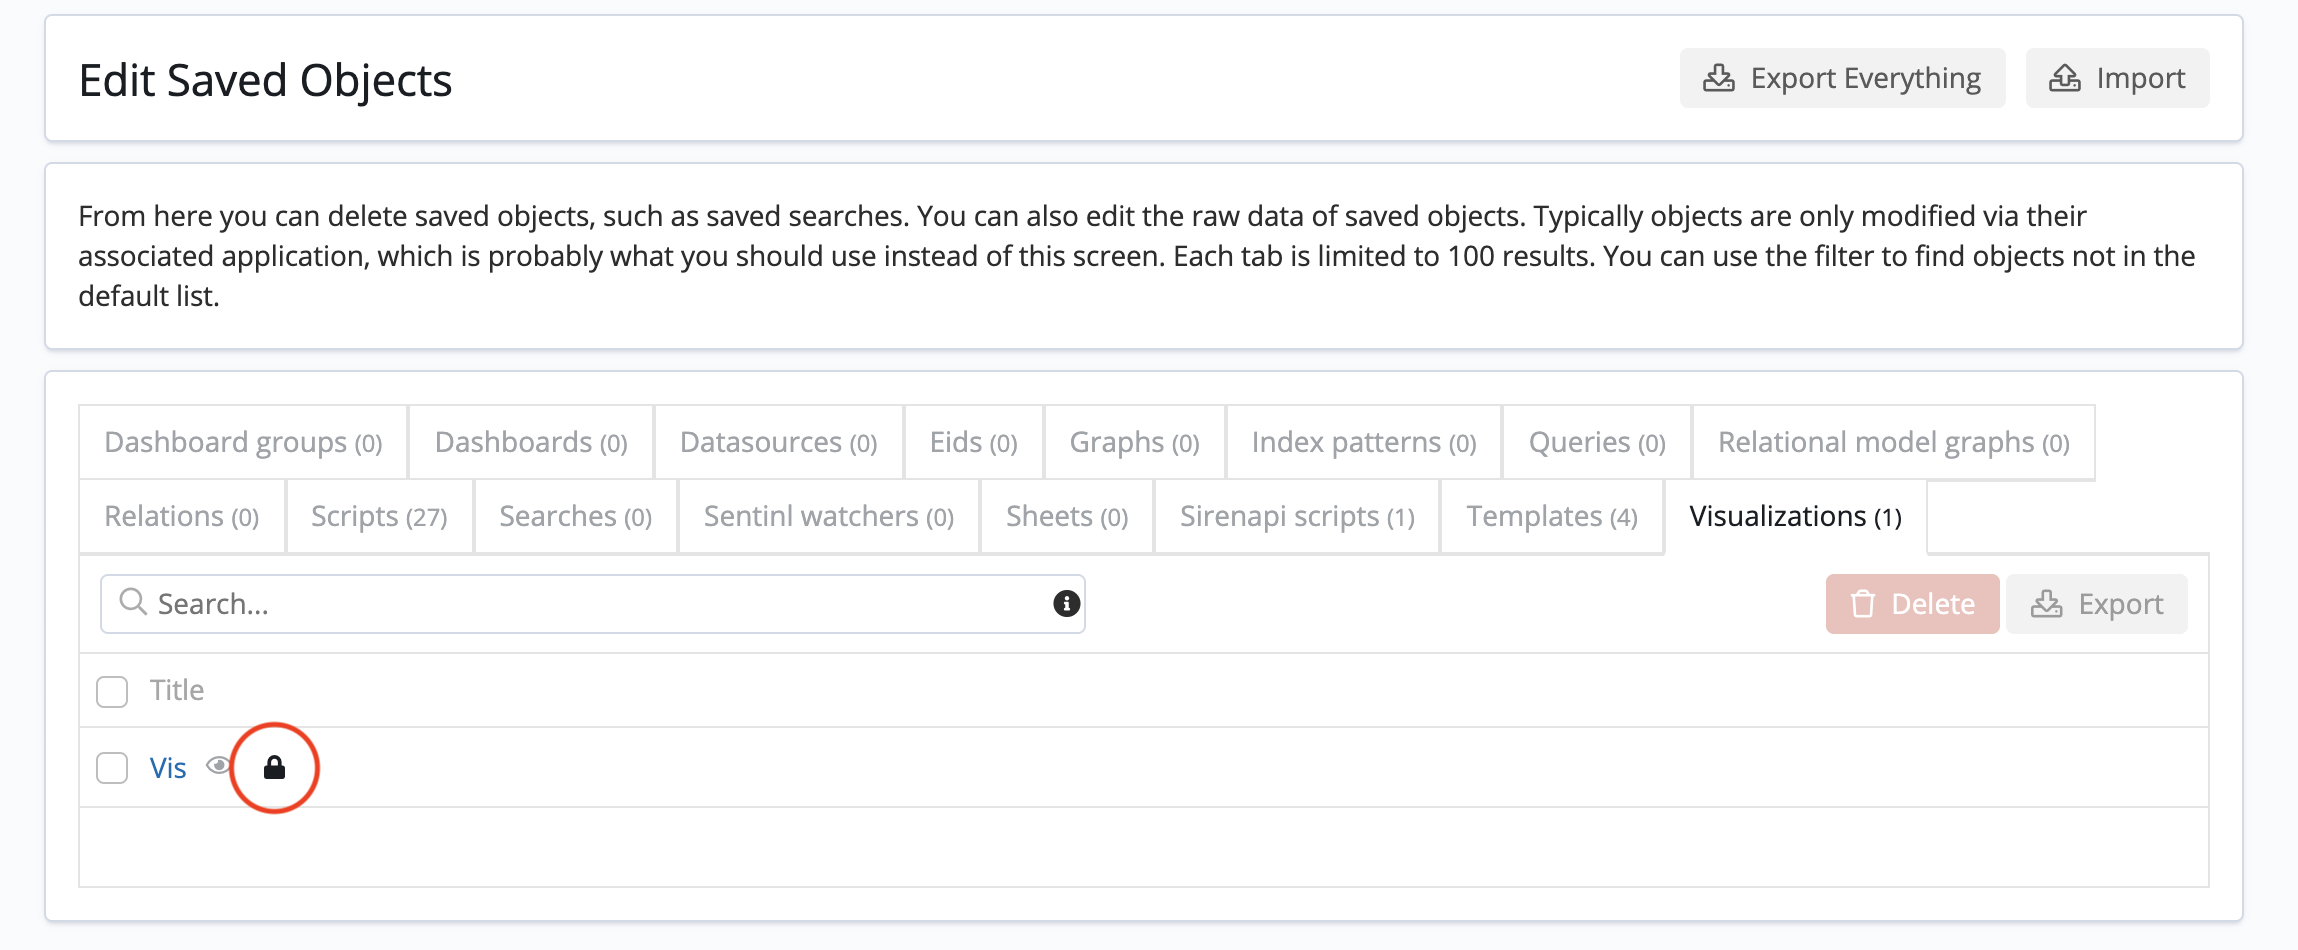
In addition to role-level permissions, it is possible to define permissions for saved objects by going to and clicking the Permissions button that is next to an object:

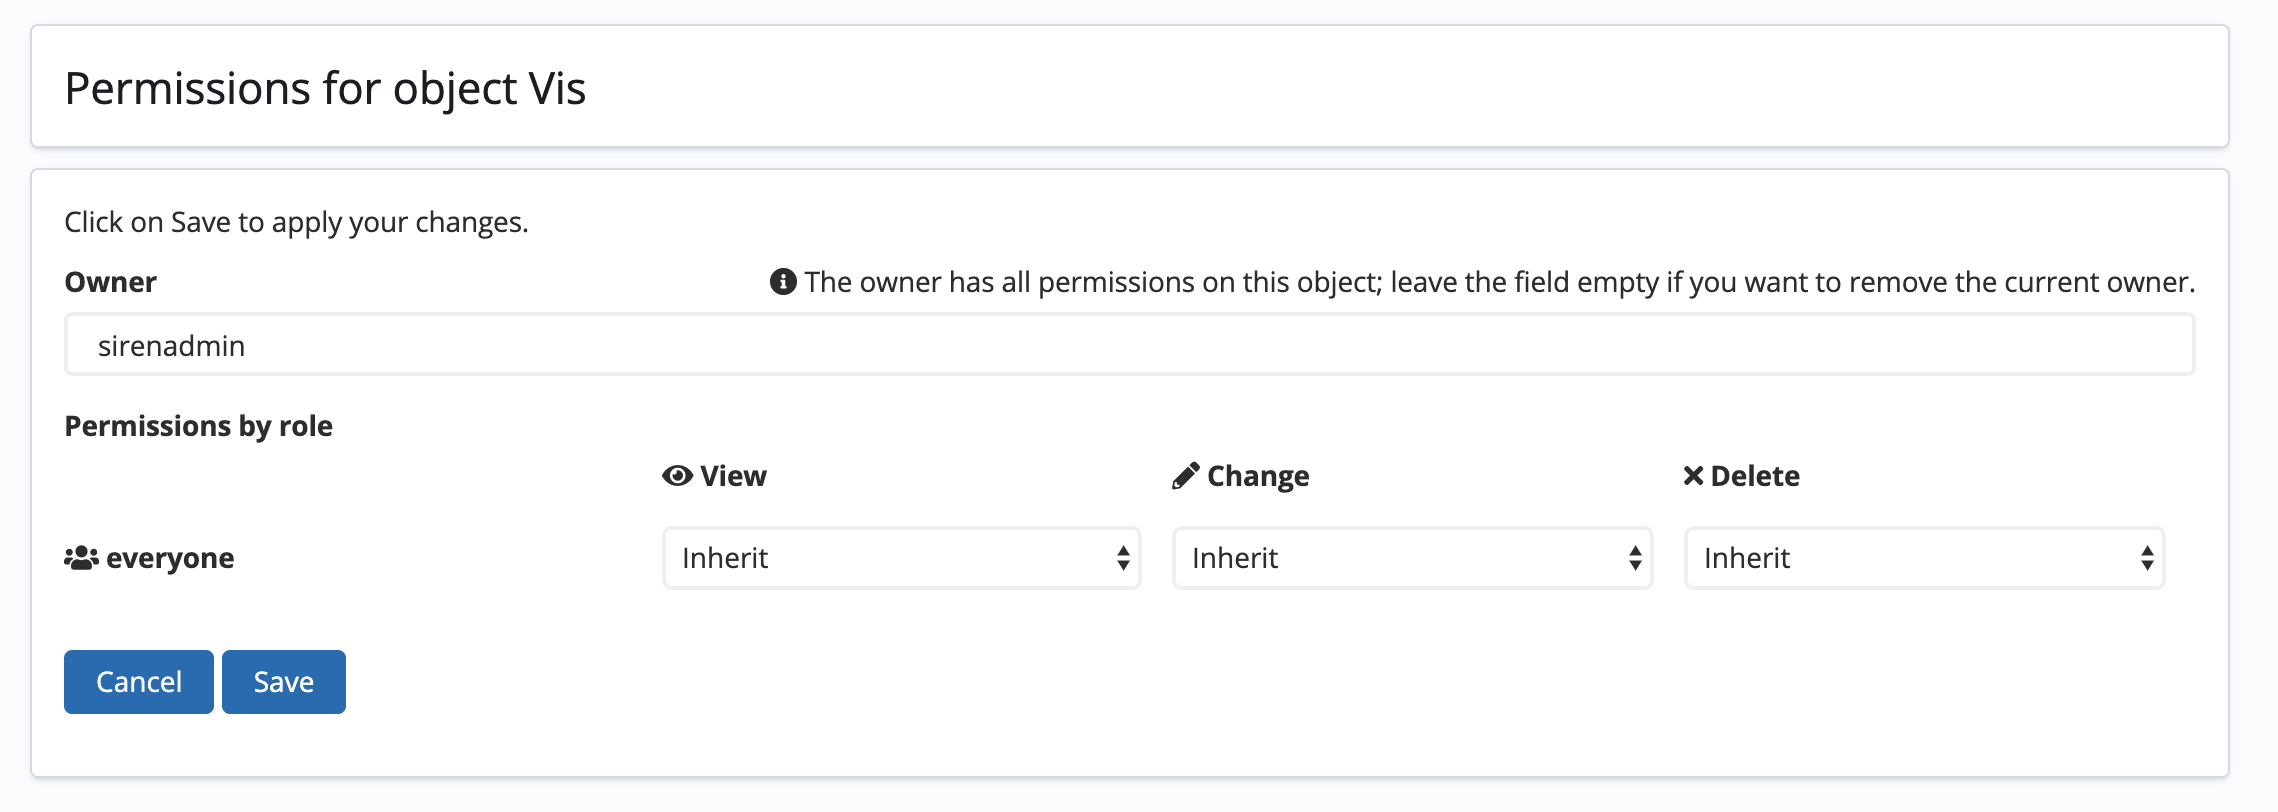
The Permissions for object screen allows you to set the owner of the object and define custom access rules.
By default, the owner is the user who created the object and they have full access permissions. As an administrator, you can remove the owner of an object by leaving the field empty and clicking Save.
You can define custom access rules to grant access to an object that would
otherwise be hidden. For example, if the role everyone is not granted to display dashboards but you want to display the Overview dashboard to all users, go to the Permissions for object screen for the Overview dashboard and set the View permission for everyone to Allow.
If everyone can see dashboards but you would like to hide the IT dashboard to users, go to the Permissions for object screen for the IT dashboard and set the View permission for everyone to Deny.
In addition to the Allow and Deny options, there is a third option available called Inherit. This option applies the permissions of the saved object according to those that are set in the saved object rules of the ACL screen. For example, if you are editing the role permissions for a specific dashboard, the Inherit option matches the permissions that are set globally for that role in relation to dashboards.
