Intermediate tutorial: Creating HTTP requests from Web services
In this tutorial you will create a Web service driver that retrieves weather information from the OpenWeatherMap API.
Prerequisites
Before you begin, it is recommended that you complete the Beginner tutorial.
Download and install the following tools:
You will then need to get an OpenWeatherMap API key by creating an account at https://openweathermap.org and visiting the My API Keys section.
Steps
-
Create a directory for the project by running the following commands:
mkdir weather cd weather npm init --yes -
Add a
kibanasection to thepackage.jsonfile as follows:{ "name": "weather", "version": "1.0.0", "description": "", "main": "index.js", "scripts": { "test": "echo \"Error: no test specified\" && exit 1" }, "author": "", "license": "ISC", "kibana": { "version": "5.6.10" } } -
Add the
web-service-interfacepackage by running the following command:npm install @sirensolutions/web-service-interface -
Add the
axiospackage by running the following command:npm install axios -
Create a subdirectory to hold the source code of the driver:
mkdir src -
Consider what you would like your input and output to look like. To get a response from OpenWeatherMap, you must supply two items in the request:
-
The name of a city
-
An API key
You can then extract the fields you are interested in processing in Siren Investigate from the response.
-
-
Create the file
src/MyWeatherService.jswith the following contents:"use strict" import { ServiceDefinition, WebServiceError } from '@sirensolutions/web-service-interface'; import axios from 'axios'; export class MyWeatherService extends ServiceDefinition { (1) name = 'weatherservice'; inputSchema = { city_name: { type: 'text', description: 'name of the city to get weather information for', required: true } }; outputConfiguration = { (2) weather: { name: 'keyword', main: 'text', location: 'geo_point', temperature: 'long' } }; // Called to invoke the service. The inputs argument will have fields described in this.inputSchema async invoke(inputs) { (3) // The API endpoint to send a query to const url = 'https://api.openweathermap.org/data/2.5/weather?'; // Parameters are added to the end of a URL: // E.g. https://api.openweathermap.org/data/2.5/weather?q=London&appid=<your-api-key> const params = { q: inputs.city_name, appid: '<your-api-key>' (4) } const headers = { 'Content-Type': 'application/json' } // The axios library is used here, but you can use a different library/implementation for querying an API const response = await axios.get(url, { params, headers }) .catch(error => Promise.reject(error.response && error.response.status < 500 ? new WebServiceError(error.response.data) : error)); (5) // Must return objects with the same structure as in this.outputConfiguration. These are stored in Elasticsearch automatically. return { weather: [{ name: response.data.name, main: response.data.weather[0].main, location: response.data.coord, temperature: response.data.main.temp }]}; } }1 You need to exportthe class so that you can import it later in theindex.jsfile.2 The outputConfigurationused here specifies that the objects be stored in dedicated indices:web-services-example-web-service-group-MyWeatherService-results-weather. For more information, see the Storing in dedicated data indices section of the Output configuration topic.3 The invokefunction uses theasyncflag, which allows you toawaitthe response from OpenWeatherMap. This saves you from having to write out a chain of callback handlers. Theinvokefunction queries the OpenWeatherMap API with the city and the API key.4 Make sure to replace <your-api-key>with your API key.5 Here, you catch any errors if they should occur. There are two types of error that you can expect: a WebServiceError, which indicates invalid input or configuration, and any generic error which indicates a fault with the code or the external API. For more information, see Error handling -
Create a file named
index.jswith the following contents:"use strict"; import { registerServices } from '@sirensolutions/web-service-interface'; import { MyWeatherService } from './src/MyWeatherService'; (1) export default registerServices('weather', [MyWeatherService]);1 You importthe weather Web service into theindex.jsfile, so that you can register it to a Web service group namedweatherin the next line. -
It’s ready to go! Copy the whole project directory to the
pluginsfolder in Siren Investigate by running the following command:cp -r . path/to/investigate/plugins/weather -
Start Elasticsearch by running the following commands:
cd path/to/elasticsearch bin/elasticseach -
Go the directory where Siren Investigate has been installed:
cd path/to/investigate -
Open the
config/investigate.ymlfile and add the following snippet to enable Web services if it is not present:web_services: global: enabled: true -
Start Siren Investigate by running the following command:
bin/investigate -
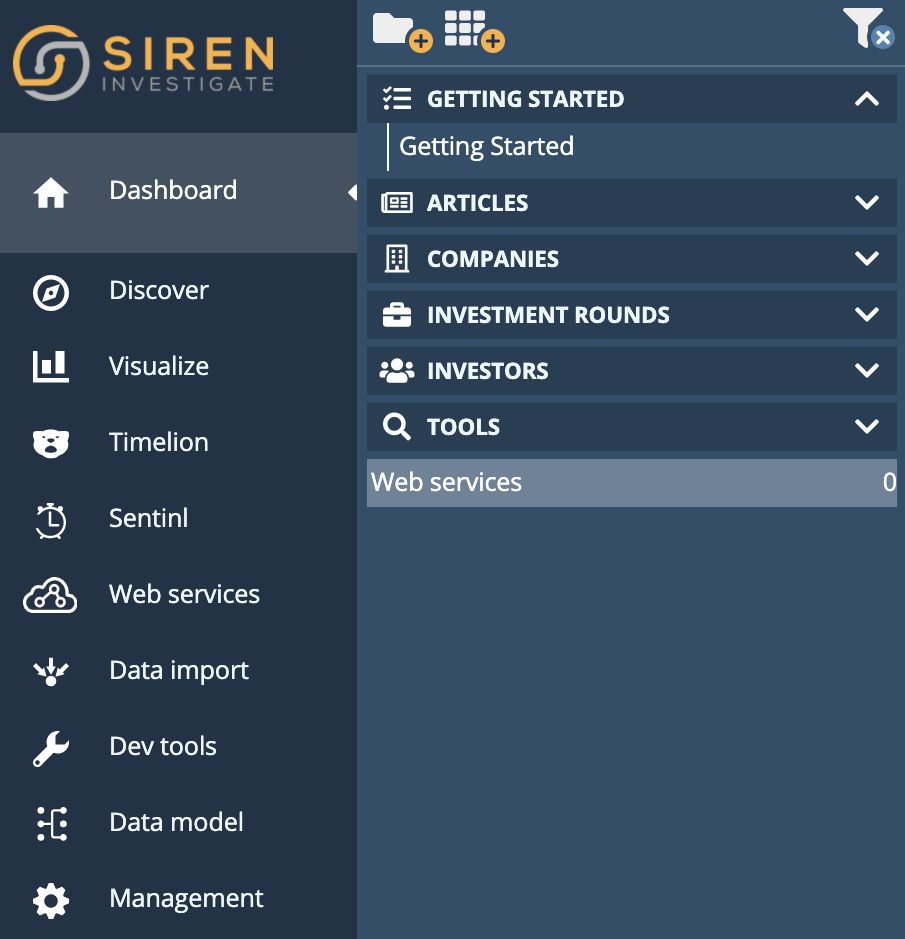
Open Siren Investigate in your browser (running on http://localhost:5606 by default), and click on the Web services dashboard.

-
Select
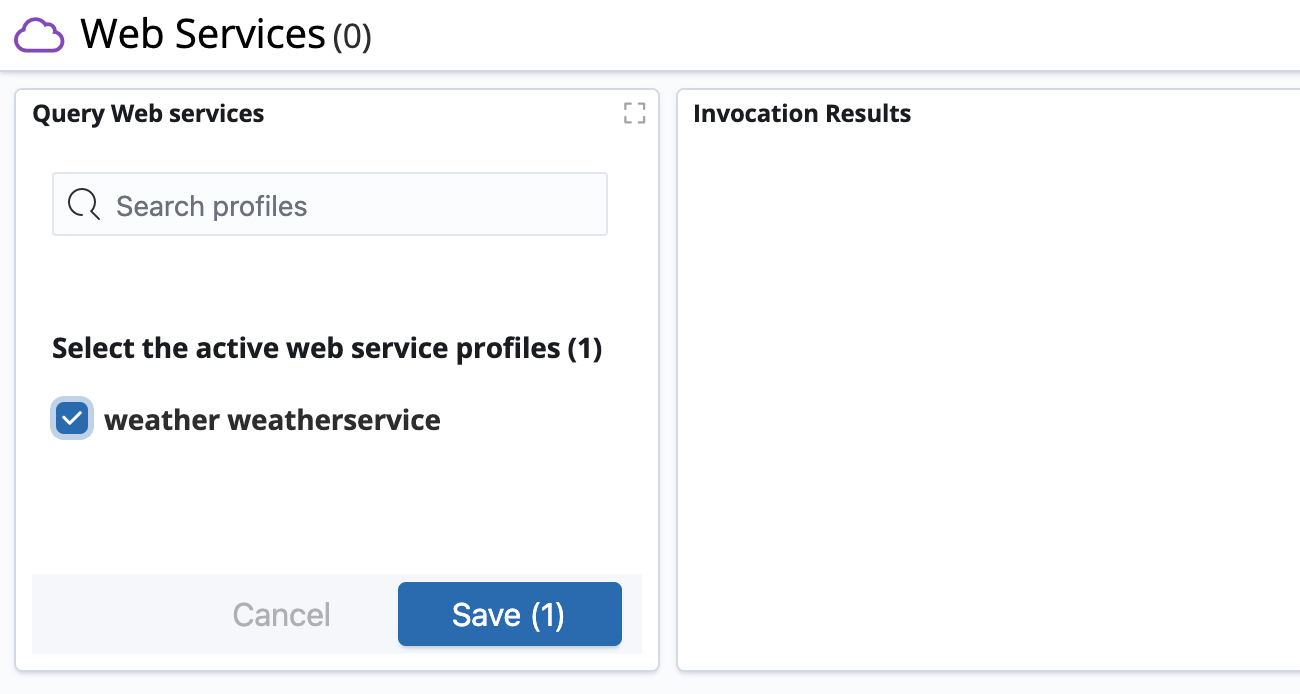
weather openweathermapas the active Web service profile in the Query Web services visualization and click Save.
-
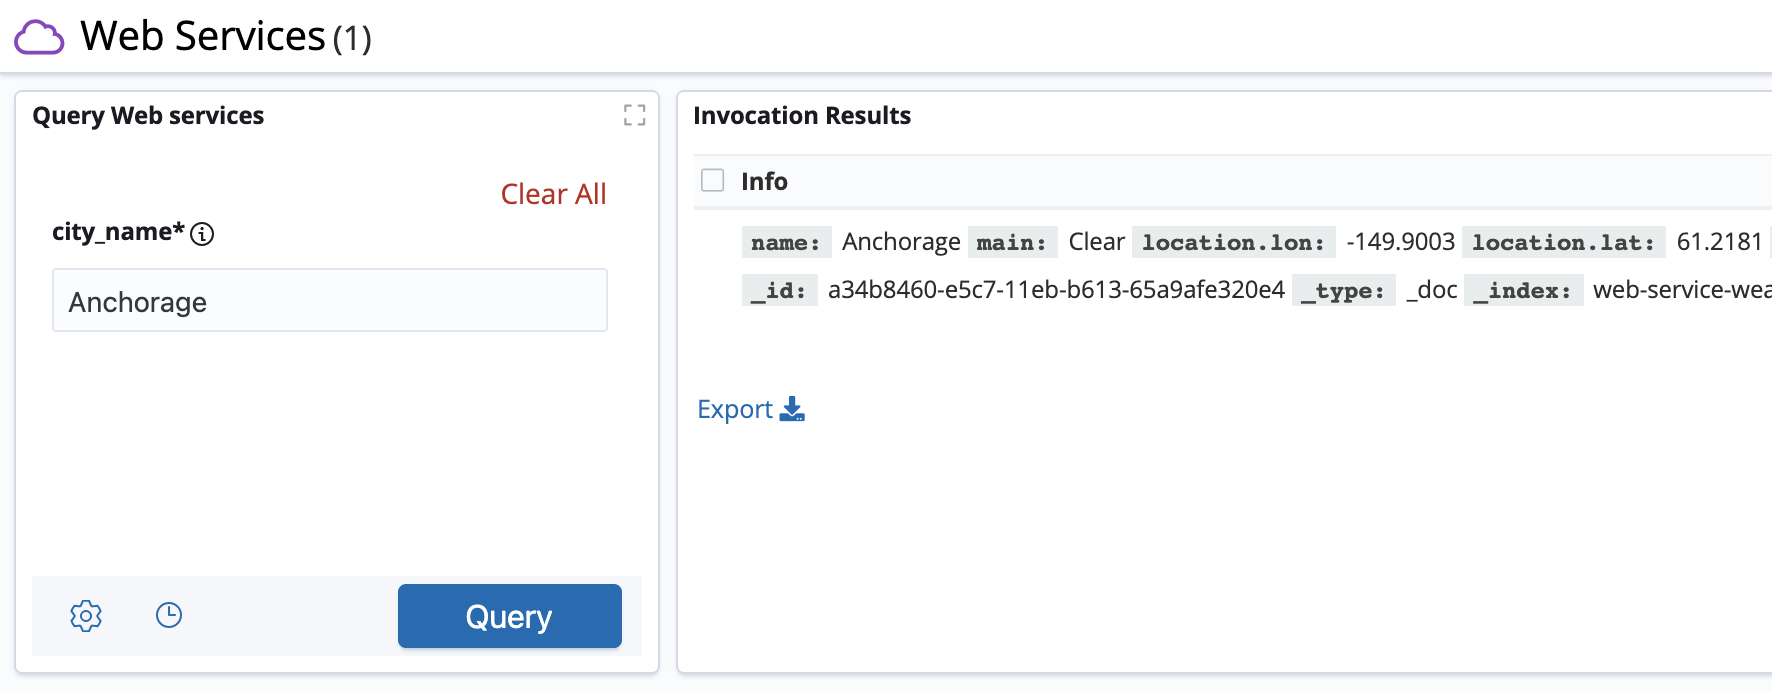
Enter a string in the message field and click Query; you should see the result of your request in the Invocation Results visualization.
