Setting up SAML and Okta on Elasticsearch with X-Pack
To set up this up you must do the following:
-
Configure Okta.
-
Configure Elasticsearch.
-
Configure Investigate.
-
Test your login.
Prerequisites
Ensure that you have the following folders:
-
ELASTICSEARCH_BASE_DIR
-
INVESTIGATE_BASE_DIR
-
TEMP_FOLDER
Configuring Okta
You need one administrator account. If you do not have an Okta account you can register for a 30-day trial. Ensure you register using an email account you have access to because you need to verify the email account.
Save your OKTA-TRIAL-NUMBER as you will have to replace it in URLs. For example, the URL to your Okta admin console should be in the following form:
|
Keep two different browsers open:
|
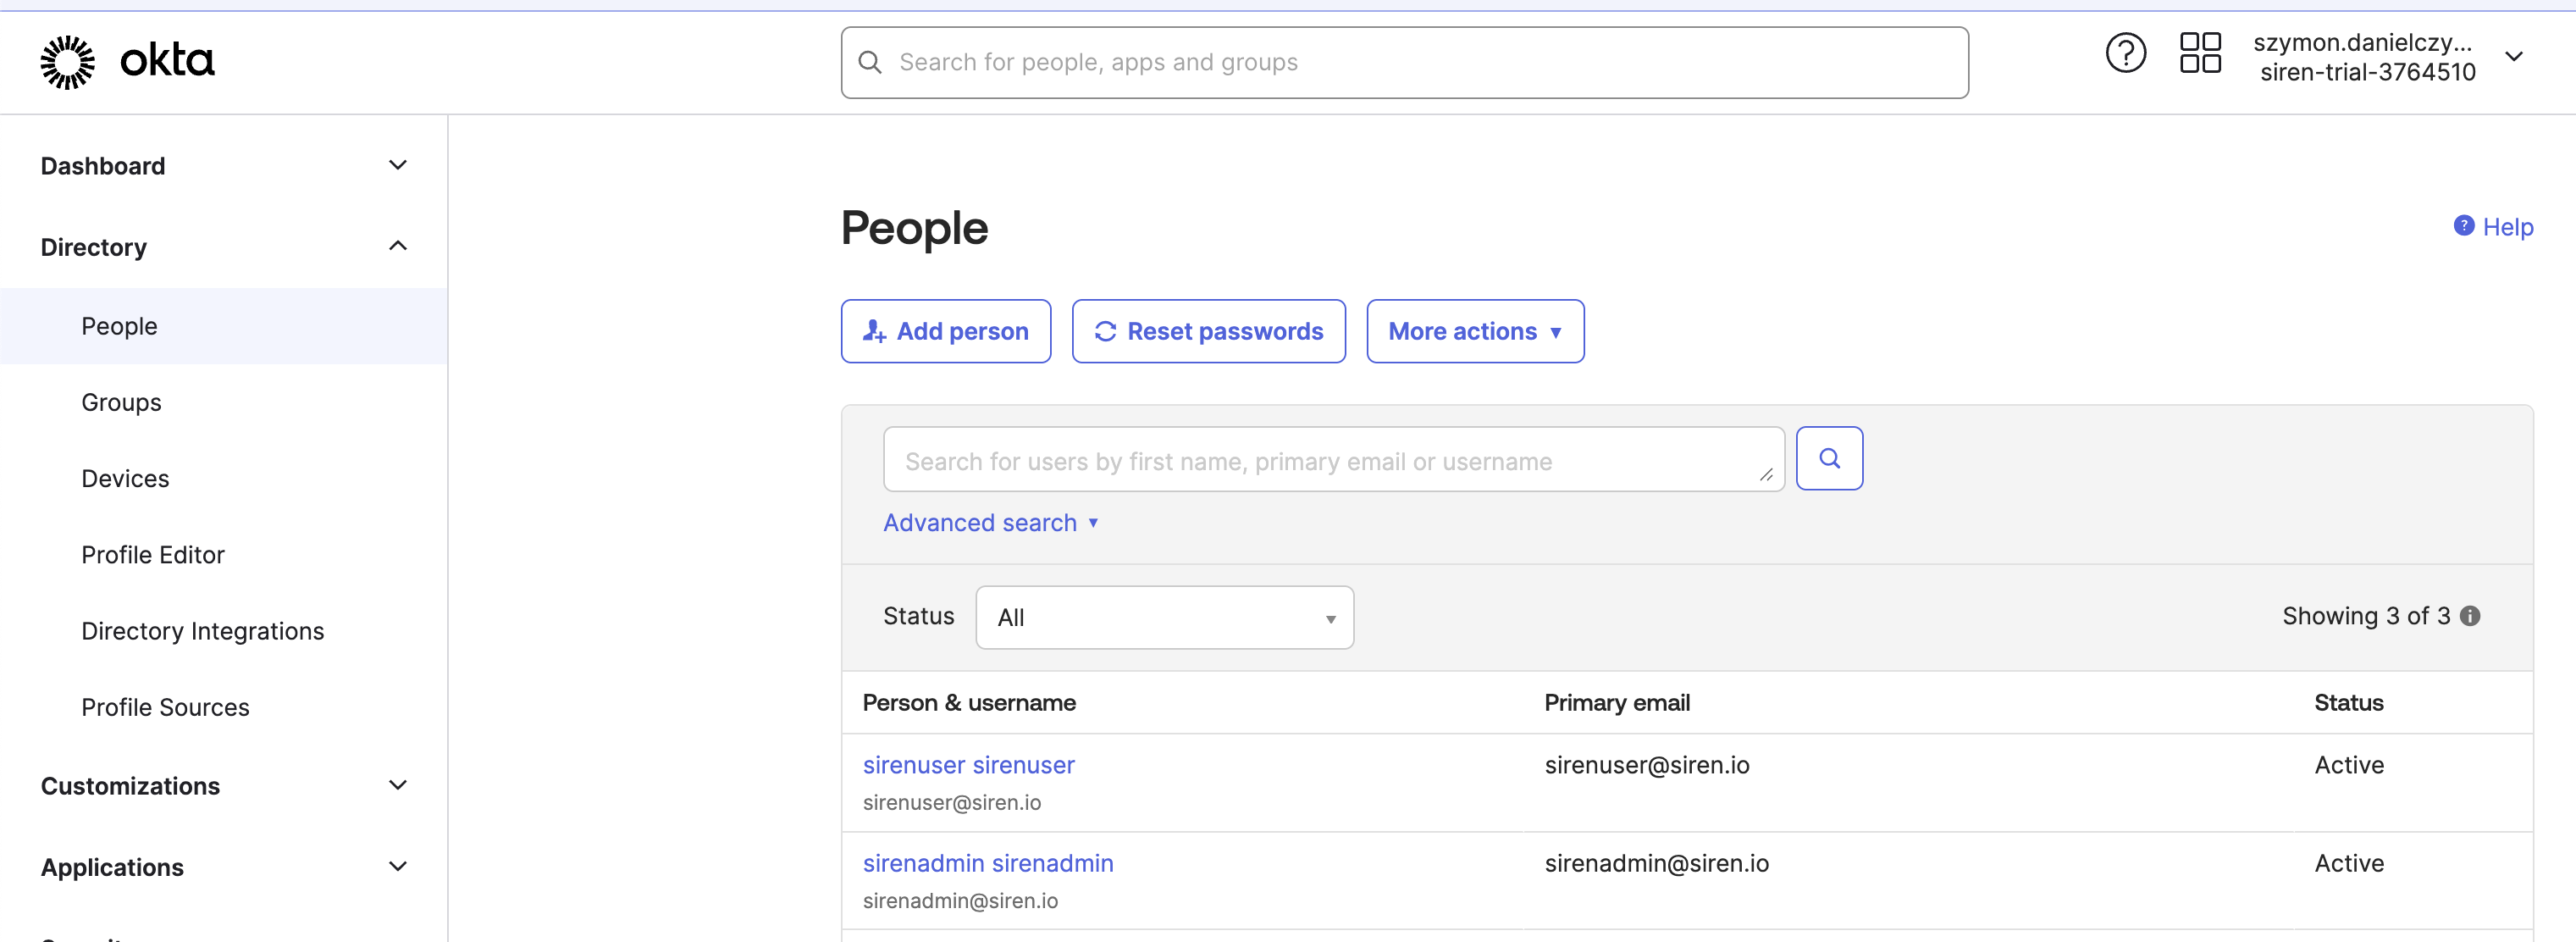
Creating users
In the Directory section create the users required for this demo setup.
In this tutorial we use users with emails at siren.io
sirenuser@siren.io and sirenadmin@siren.io.
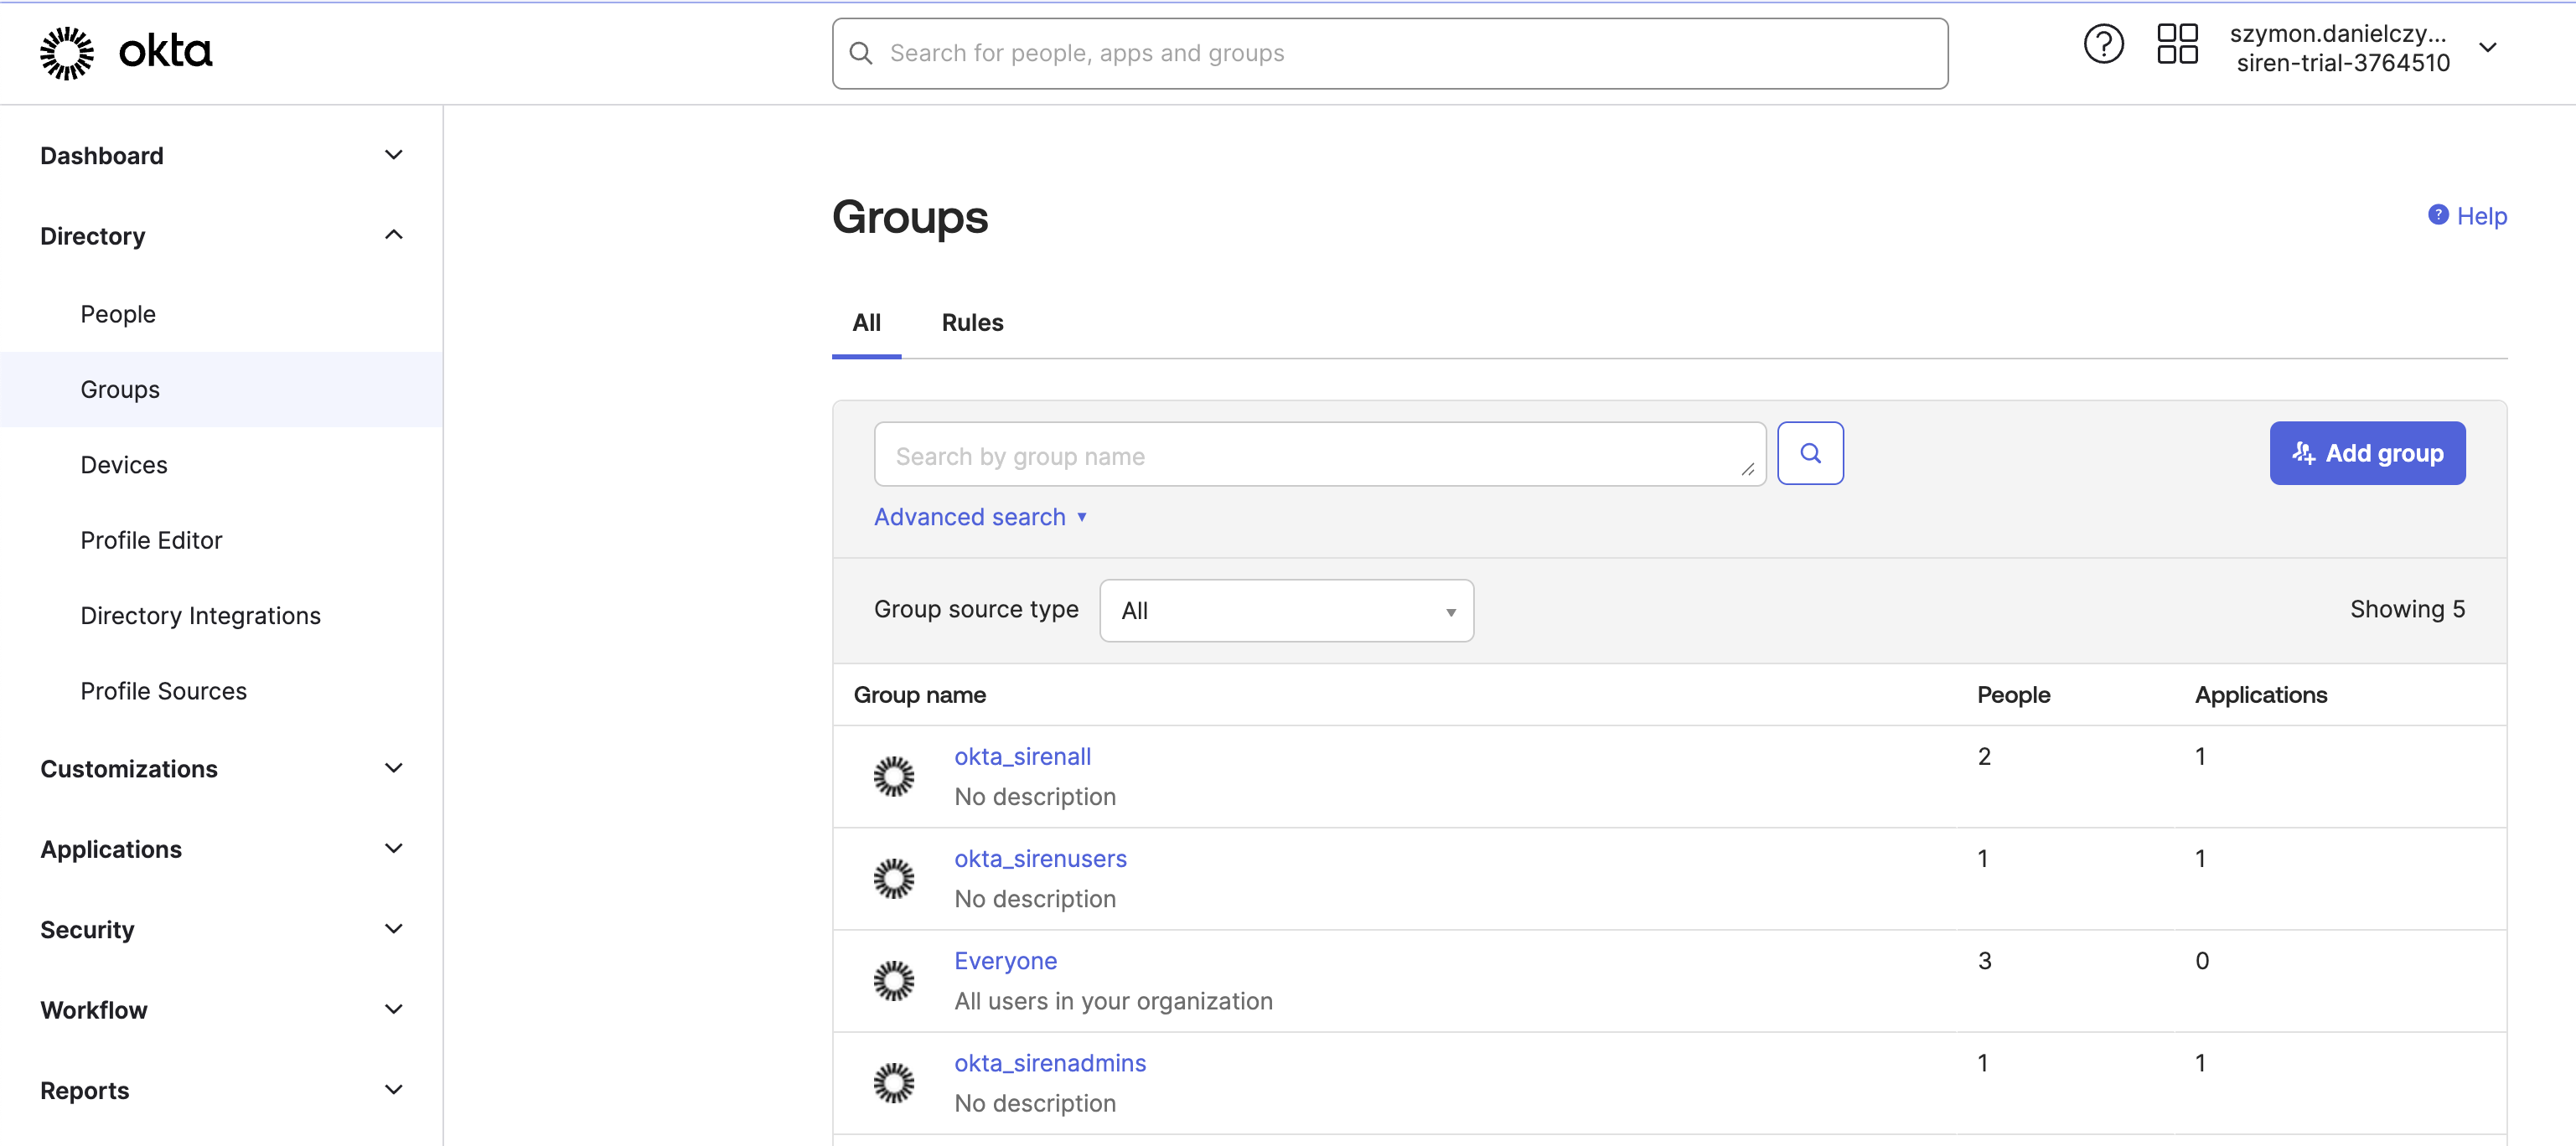
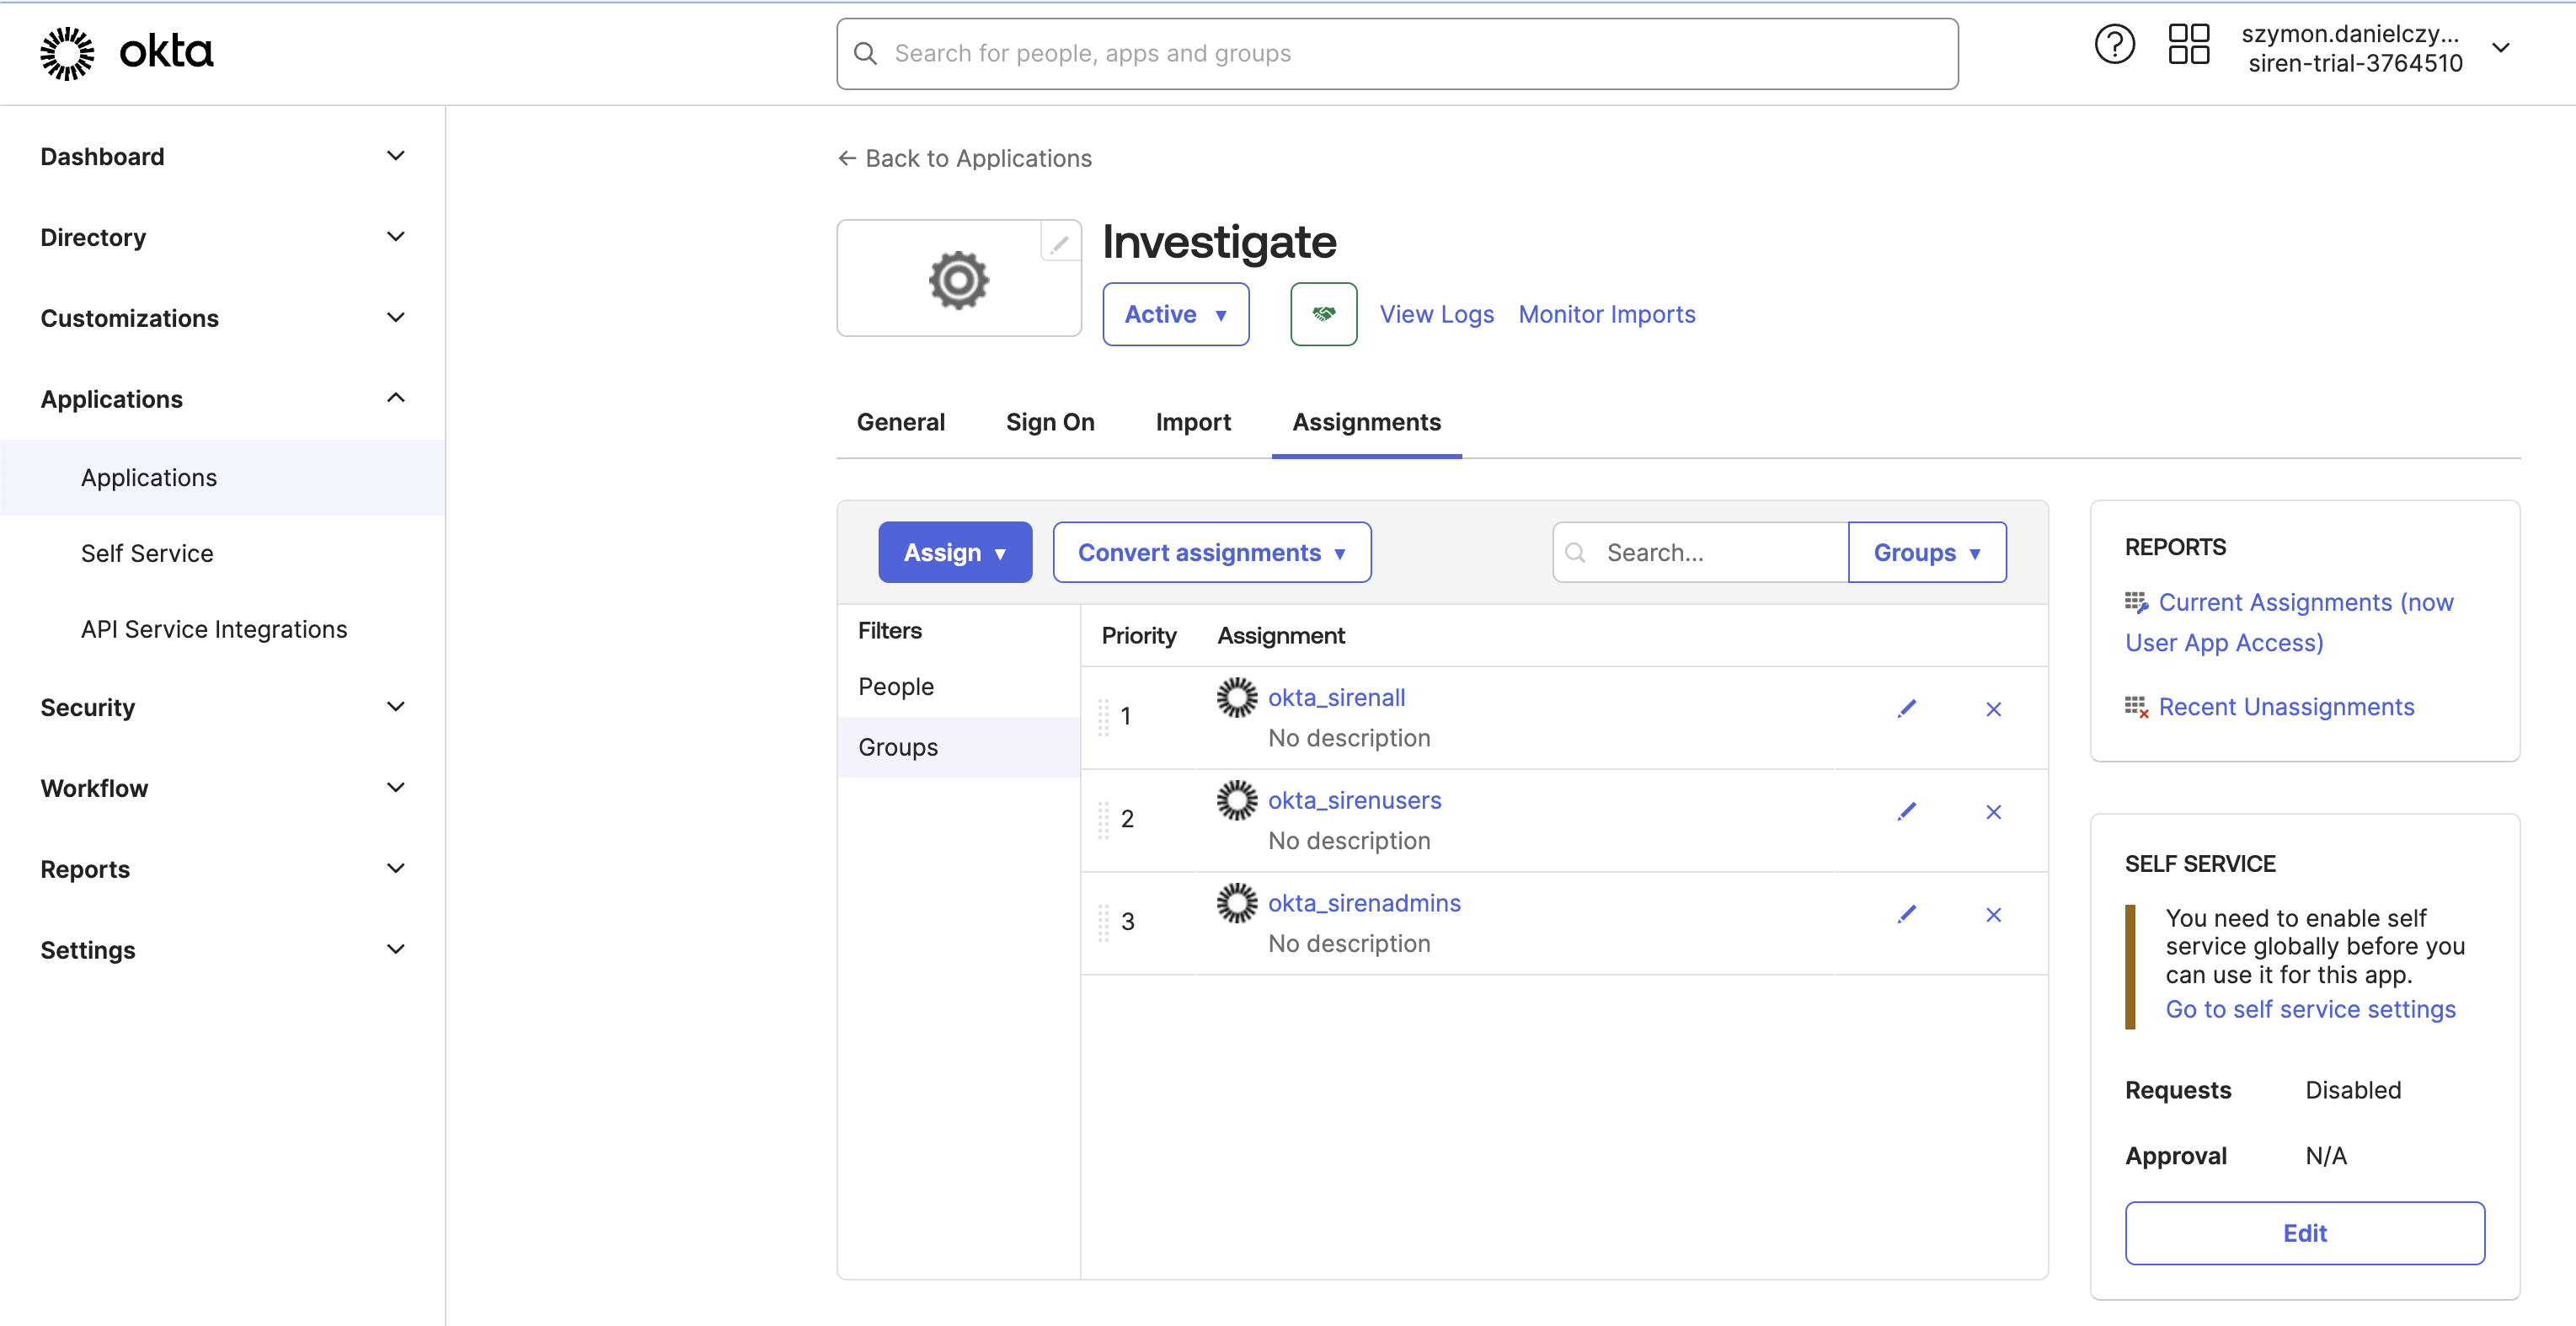
Creating groups
Create the required groups. Give the groups an okta_ prefix to make it easier to distinguish them later, such as:
okta_siren_all_group, okta_siren_user_group, and okta_siren_admin_group.
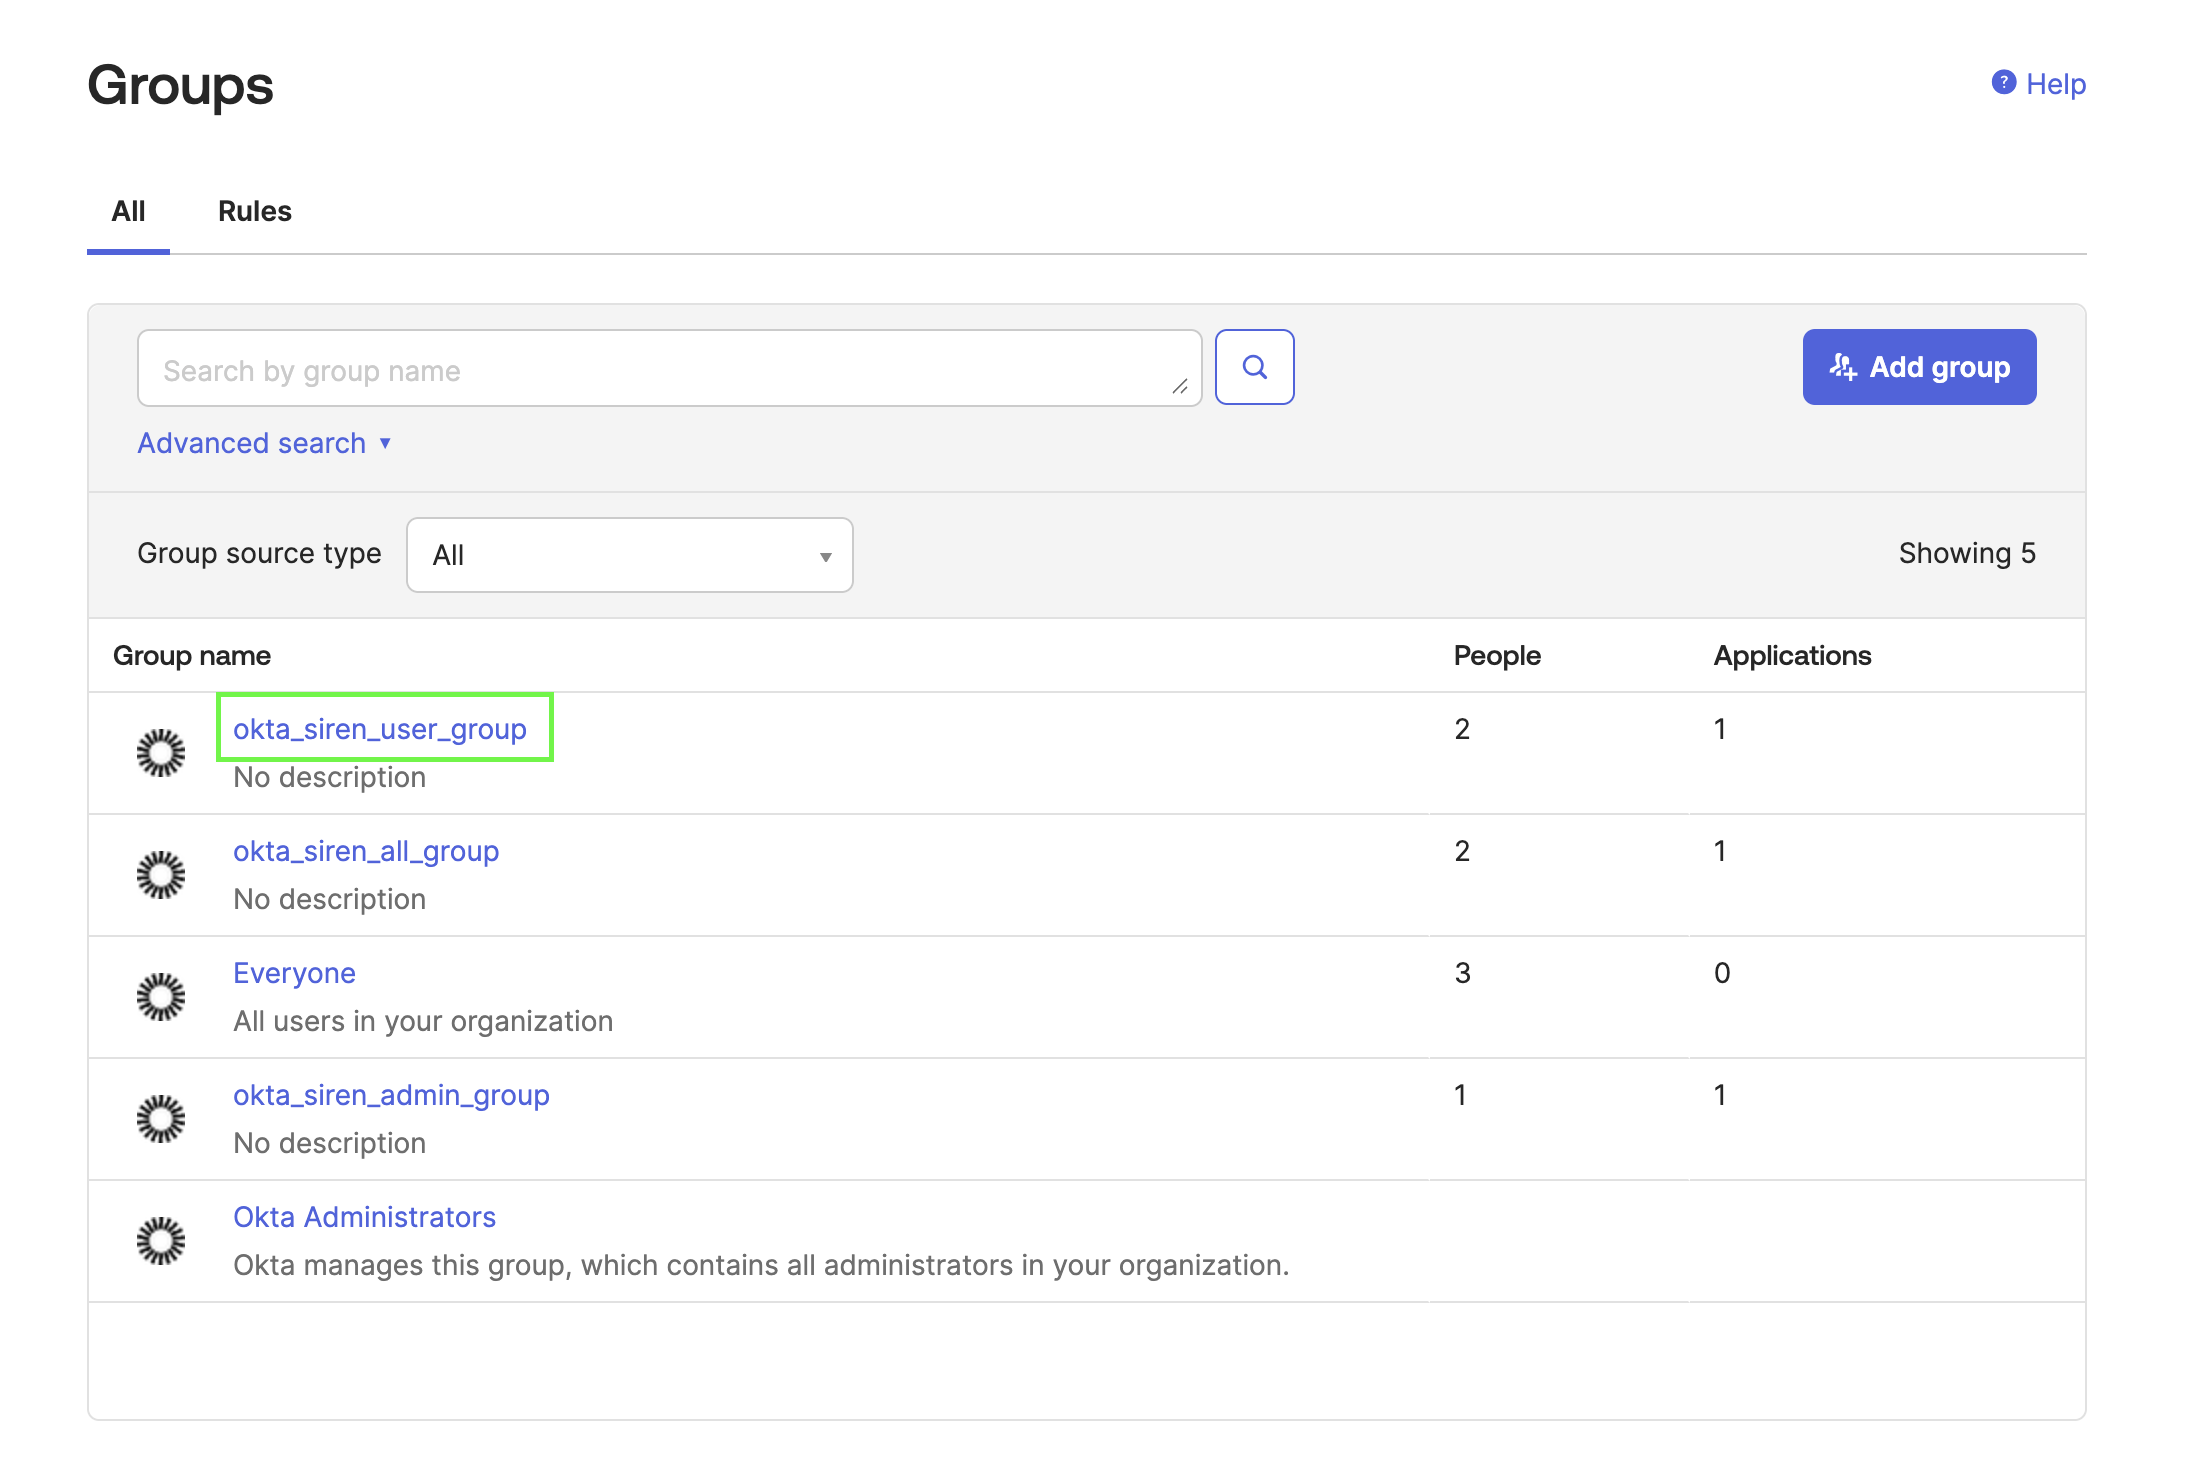
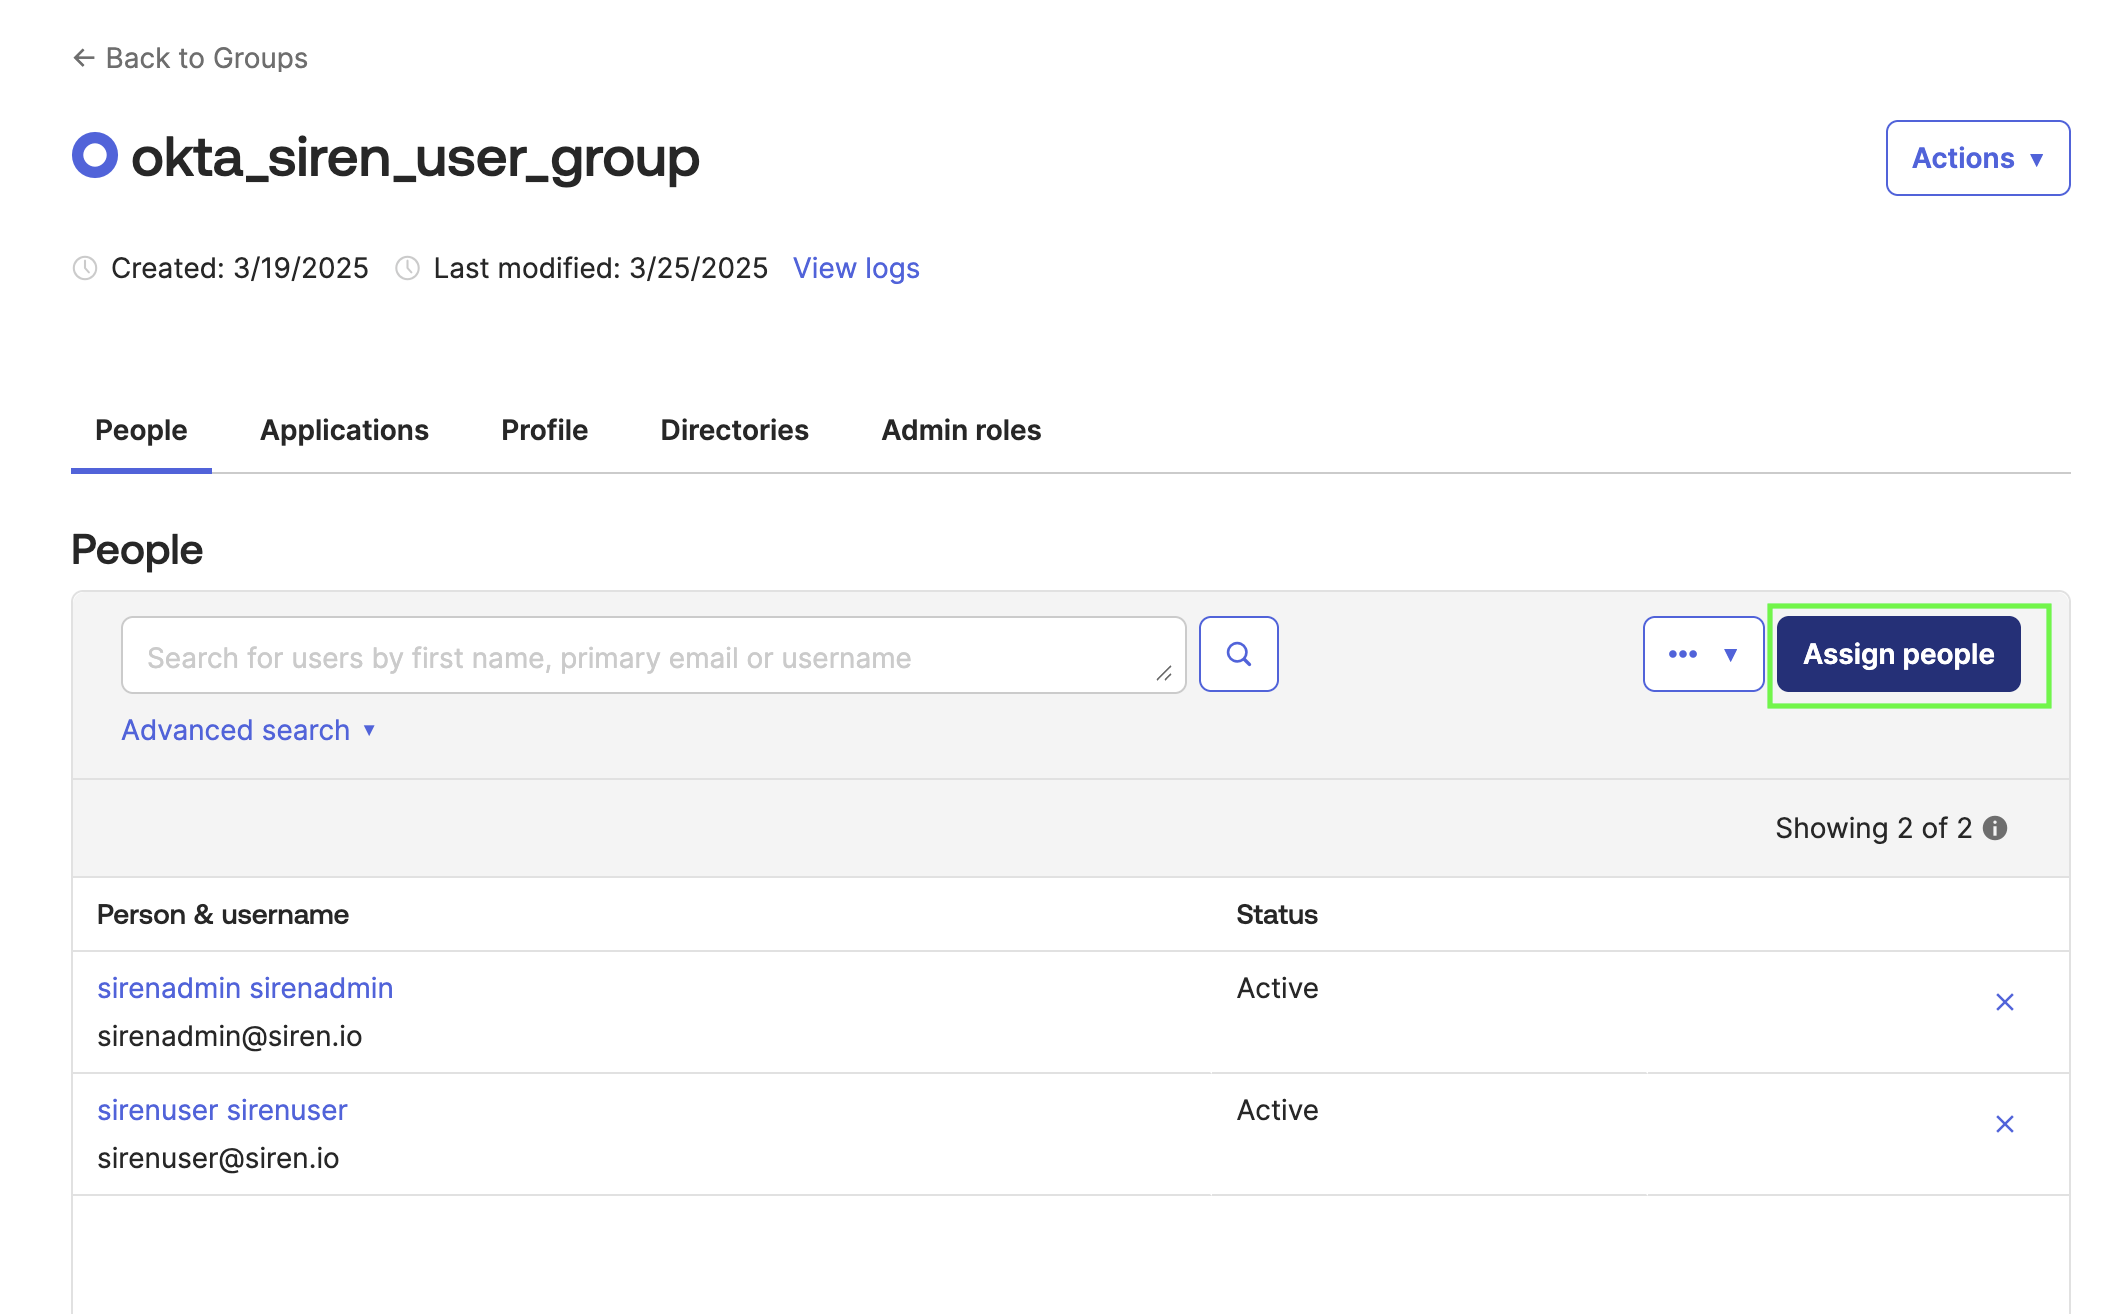
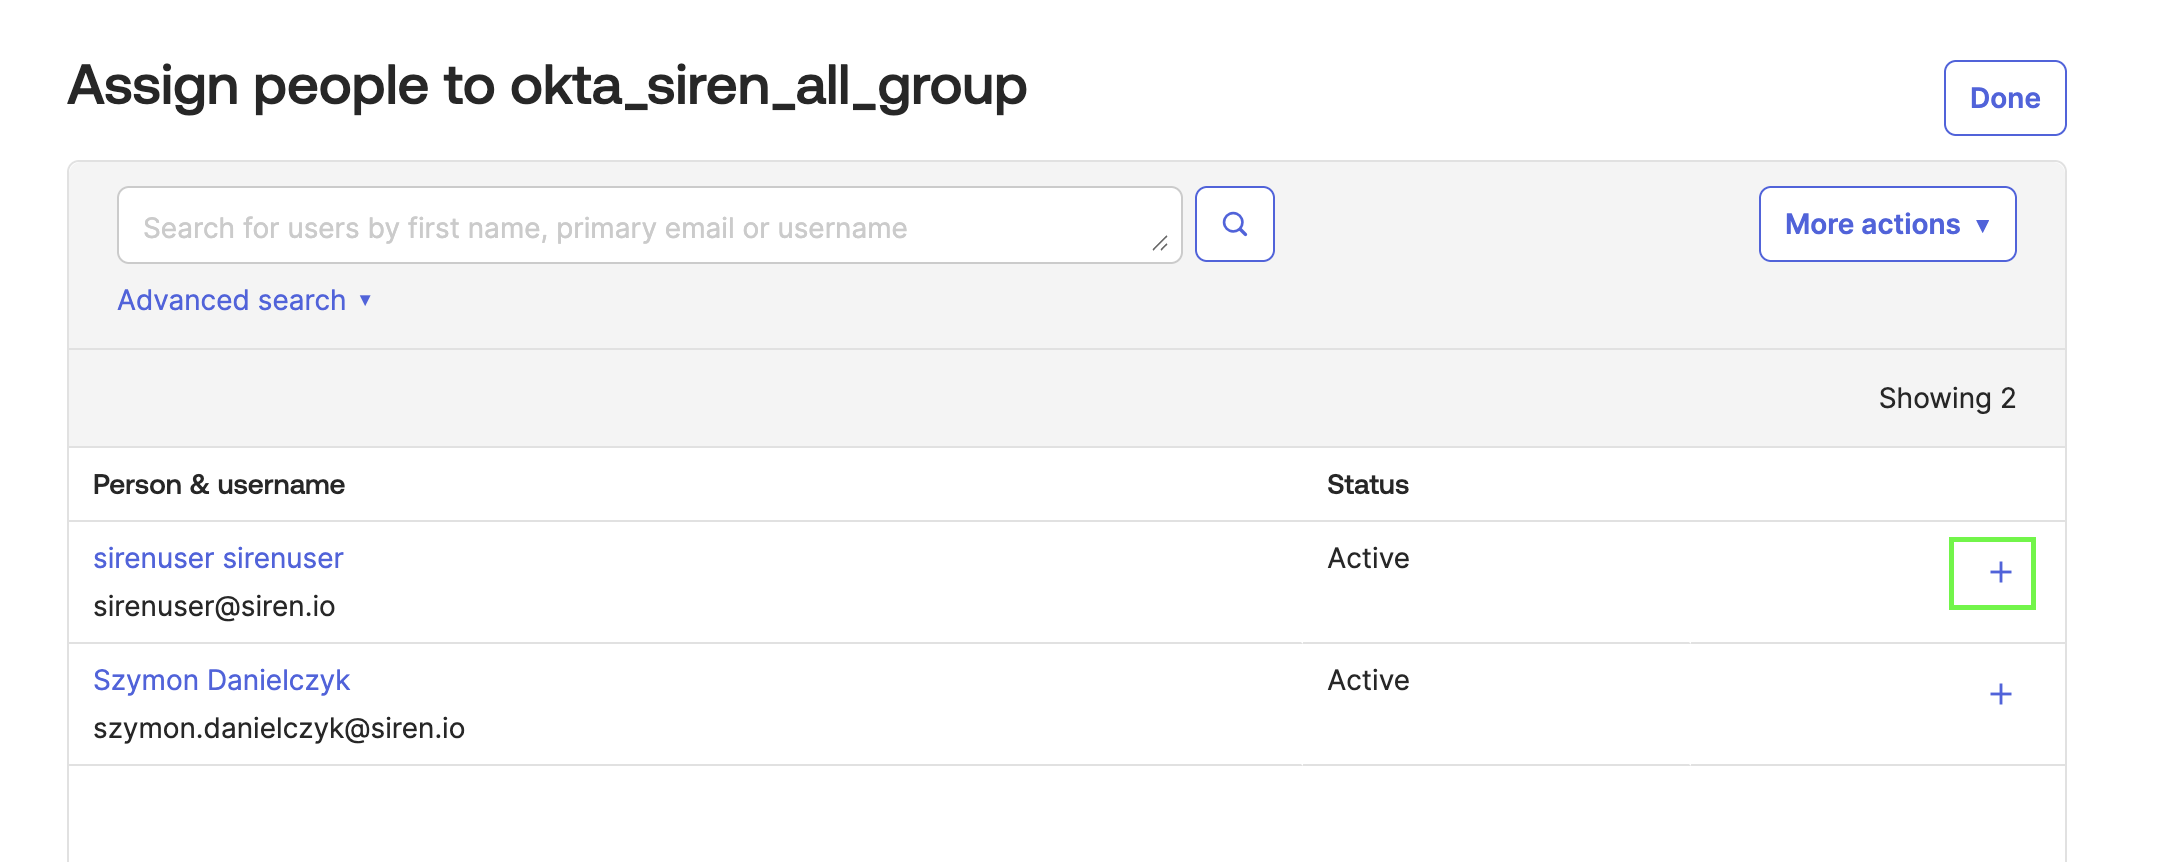
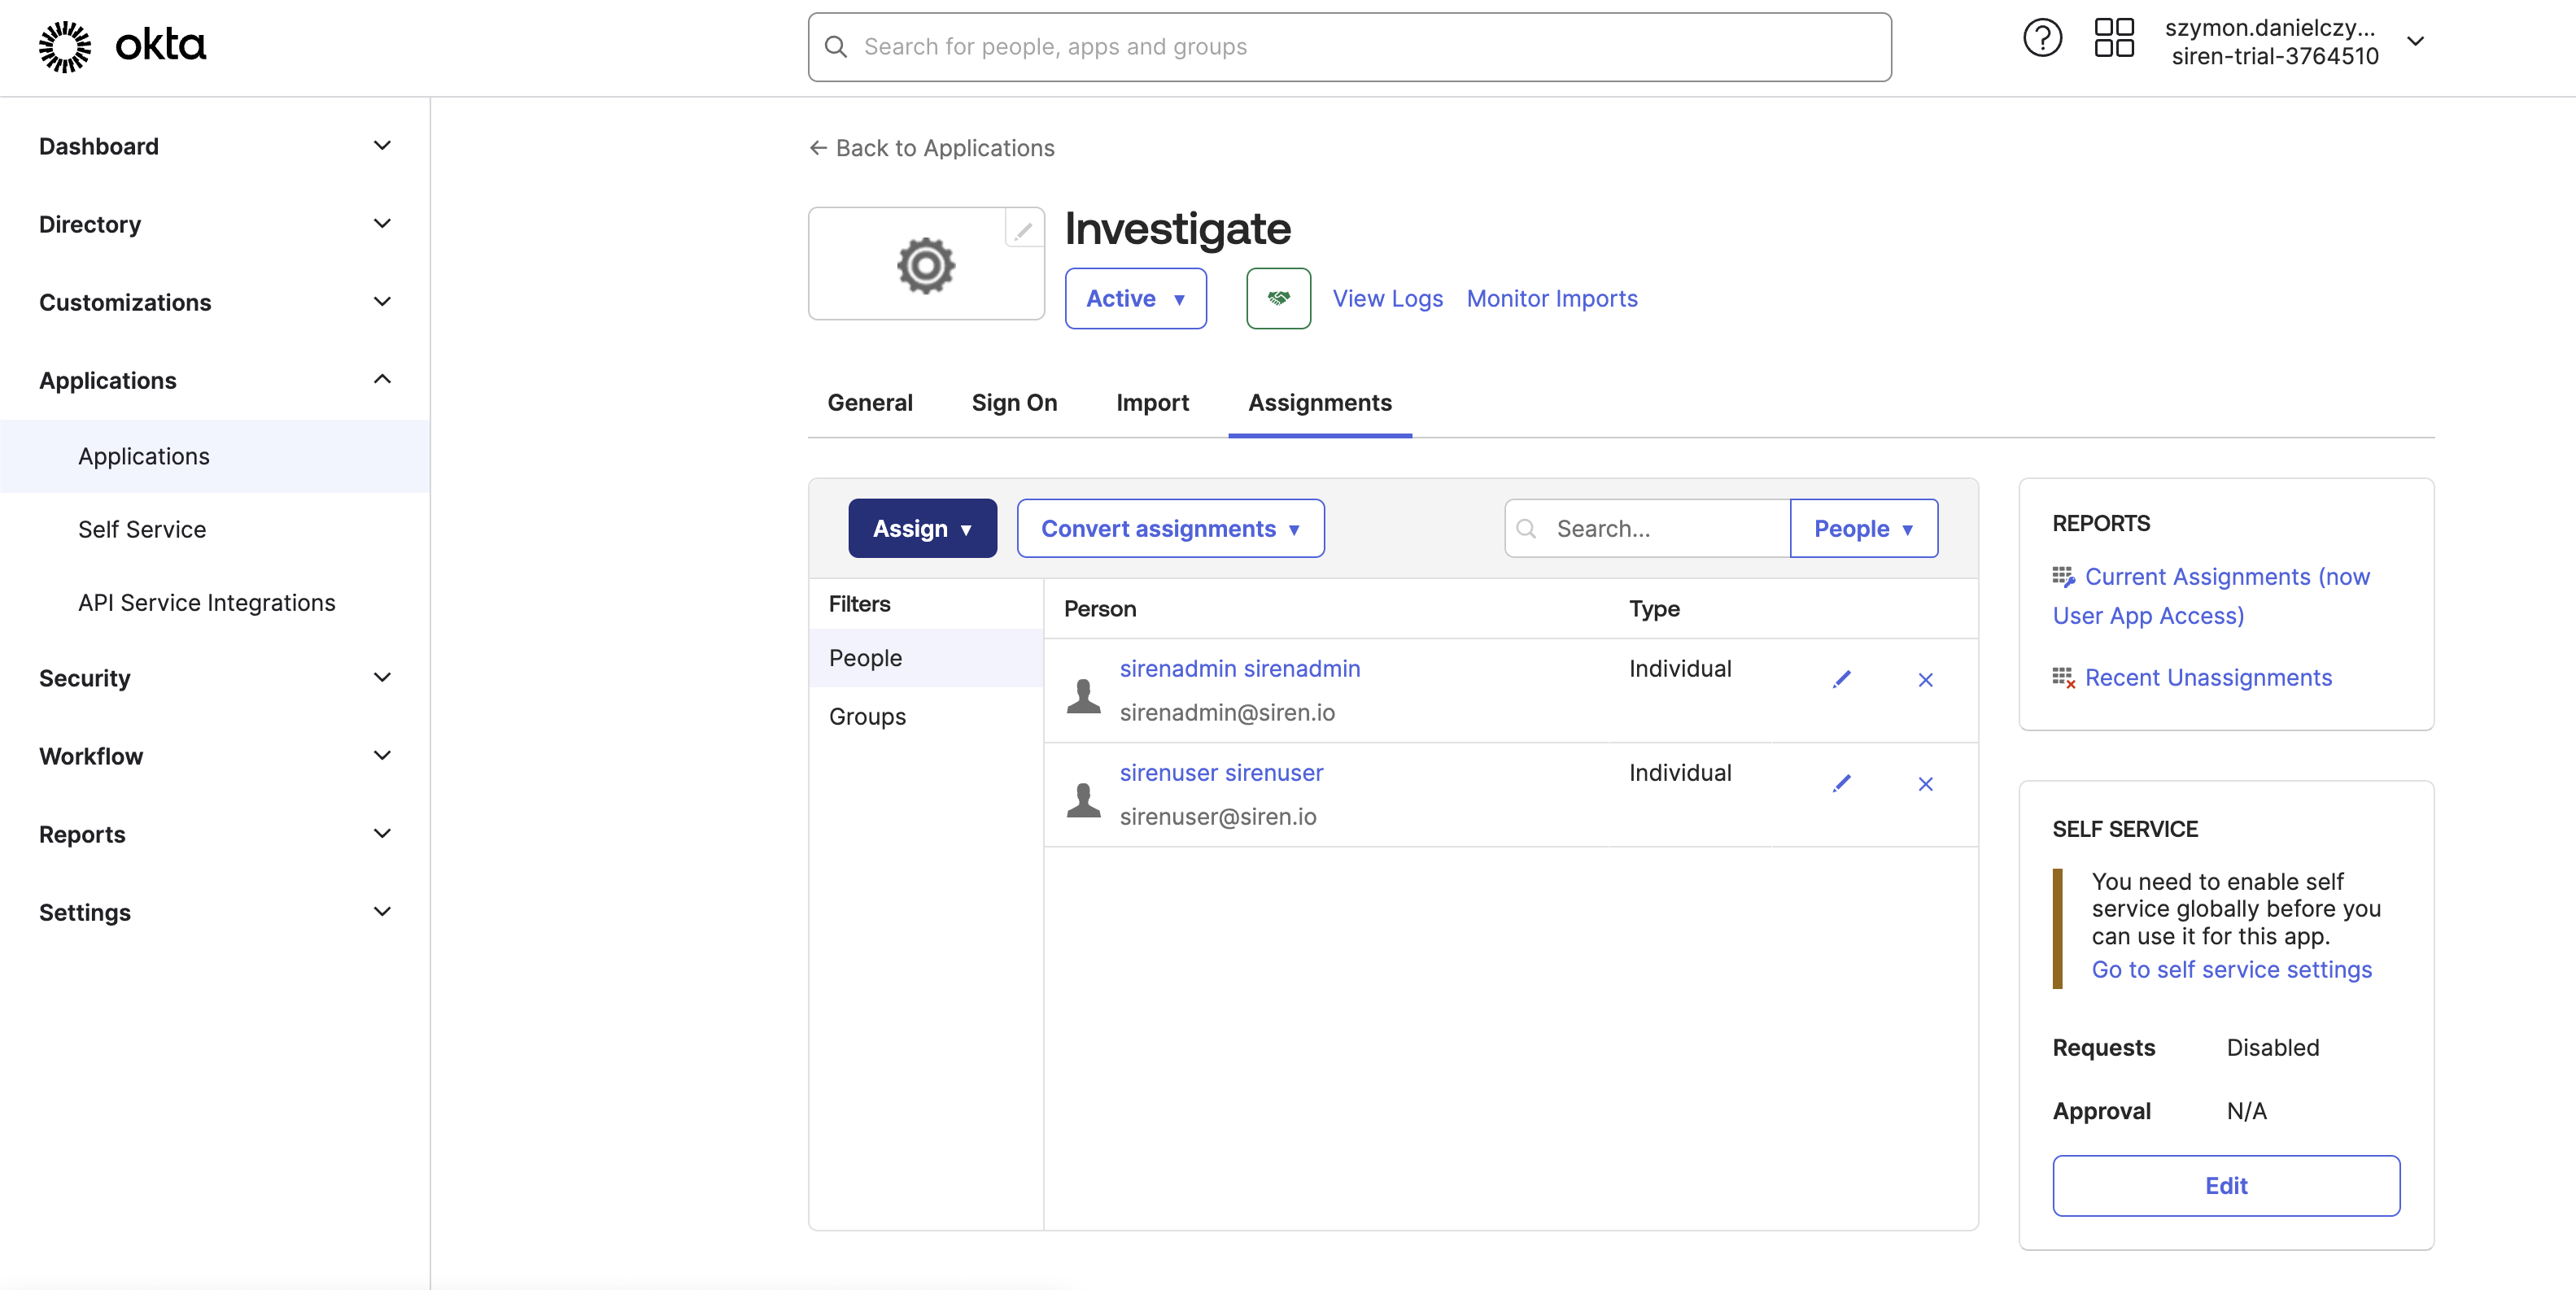
Assigning users to groups
-
Click the group name.
-
Click Assign people.
-
Click the plus icon.
-
Assign the users to groups as follows:
sirenadmin→ `okta_siren_all_group, okta_siren_user_group, okta_siren_admin_group `sirenuser→ `okta_siren_all_group, okta_siren_user_group `
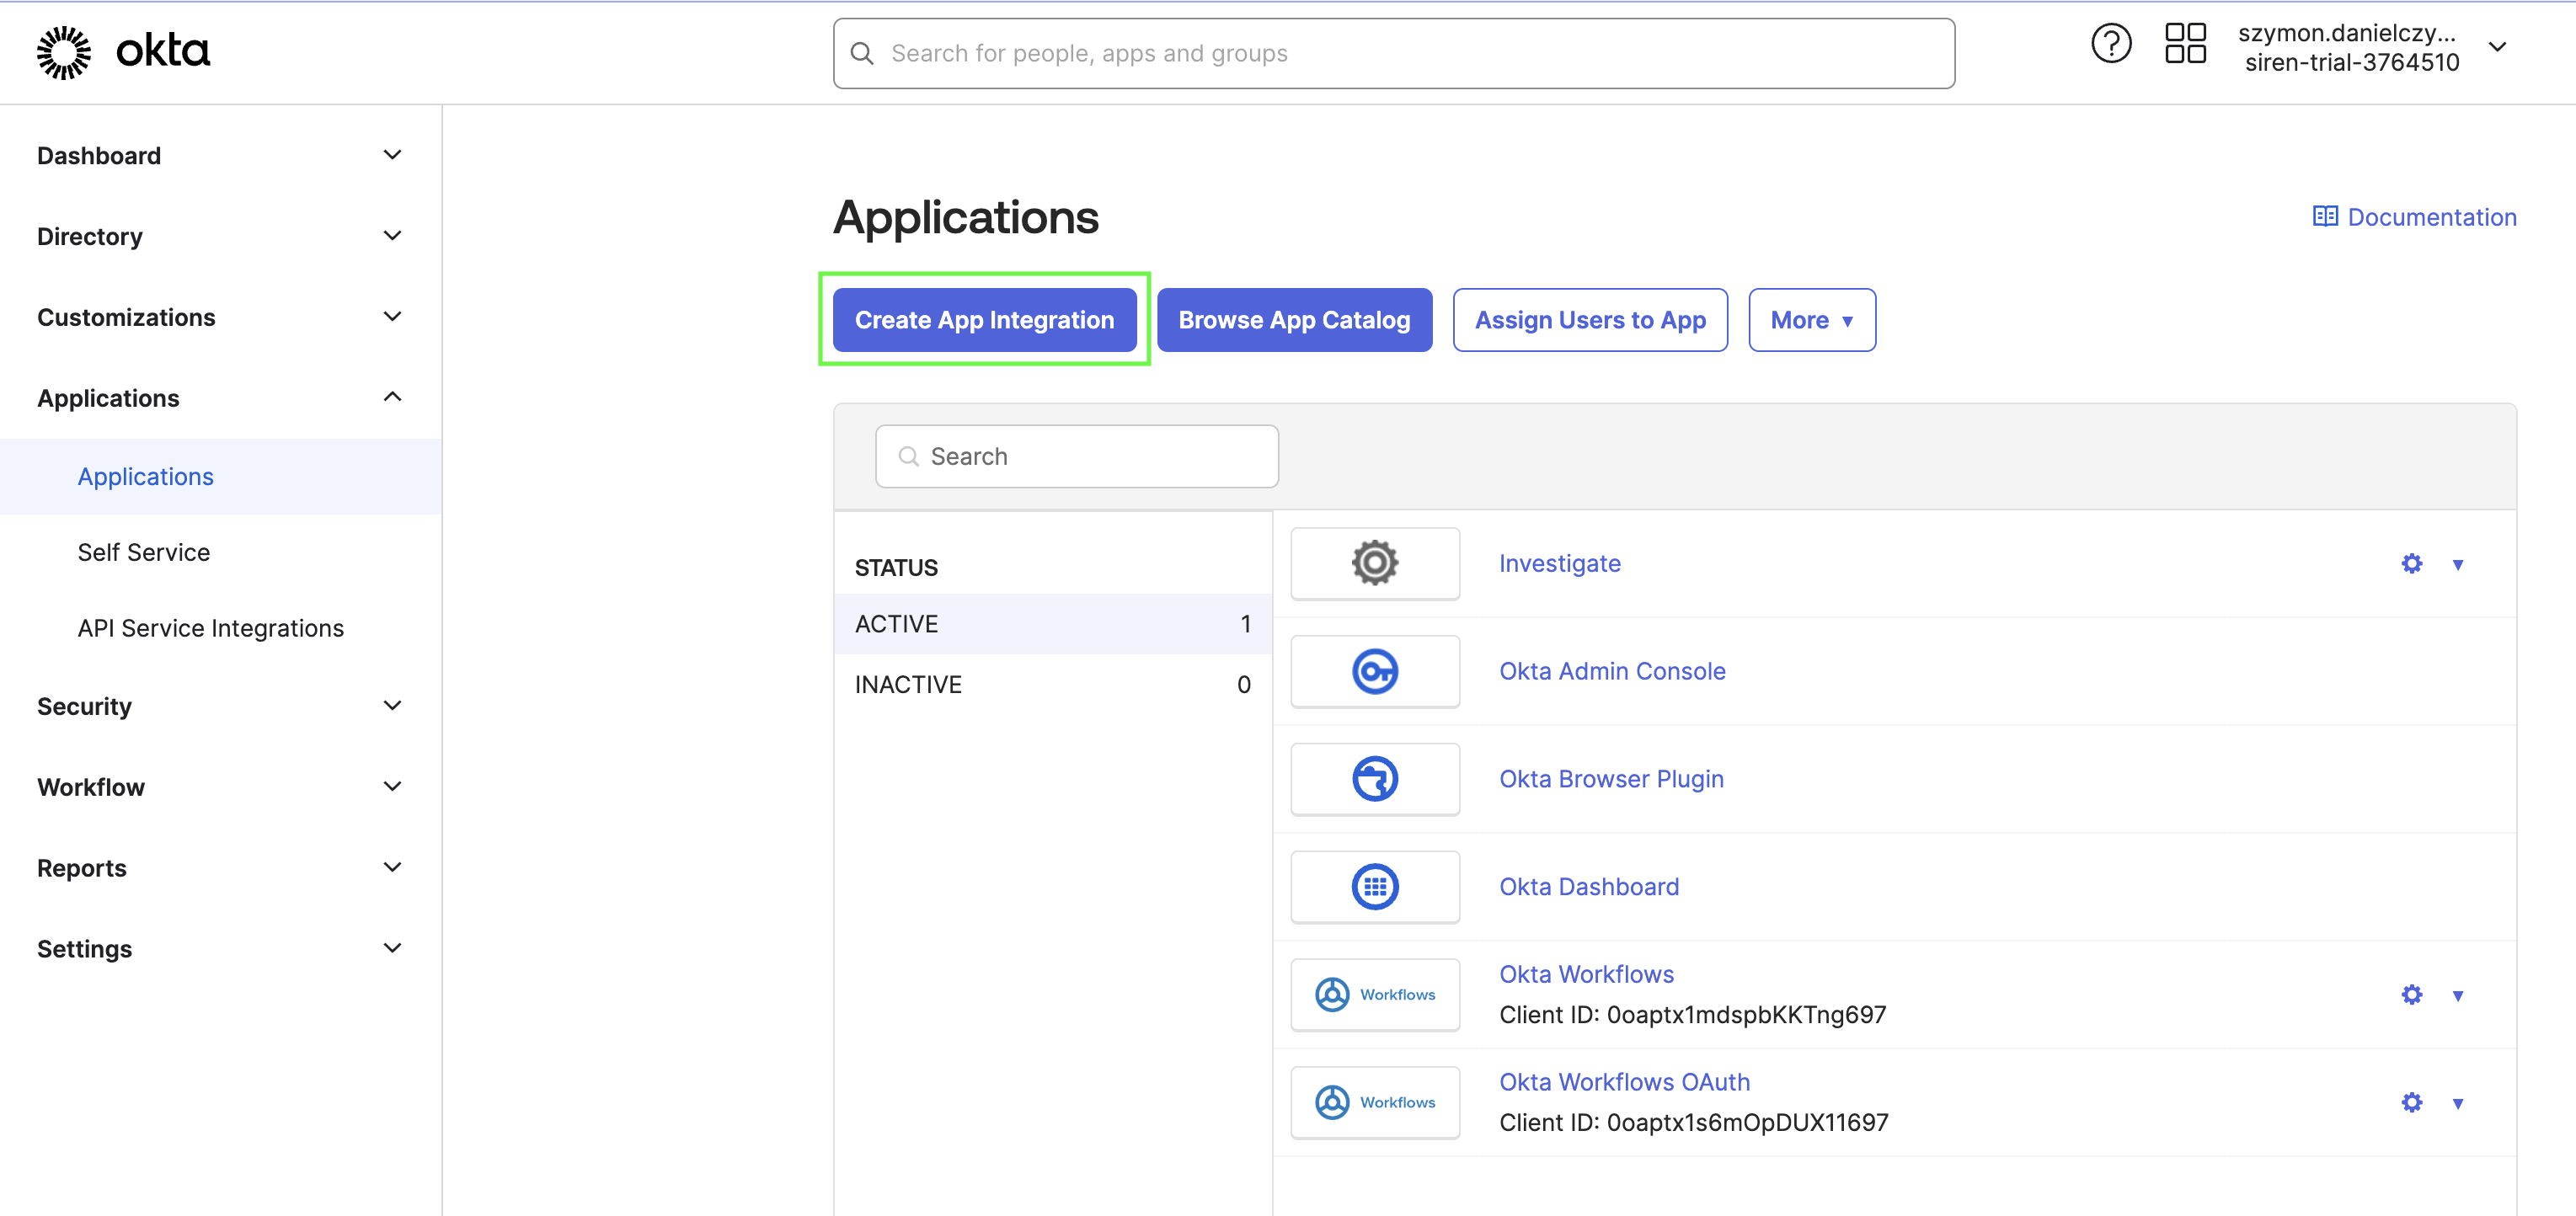
Creating the Investigate application
-
Click Create App Integration.
-
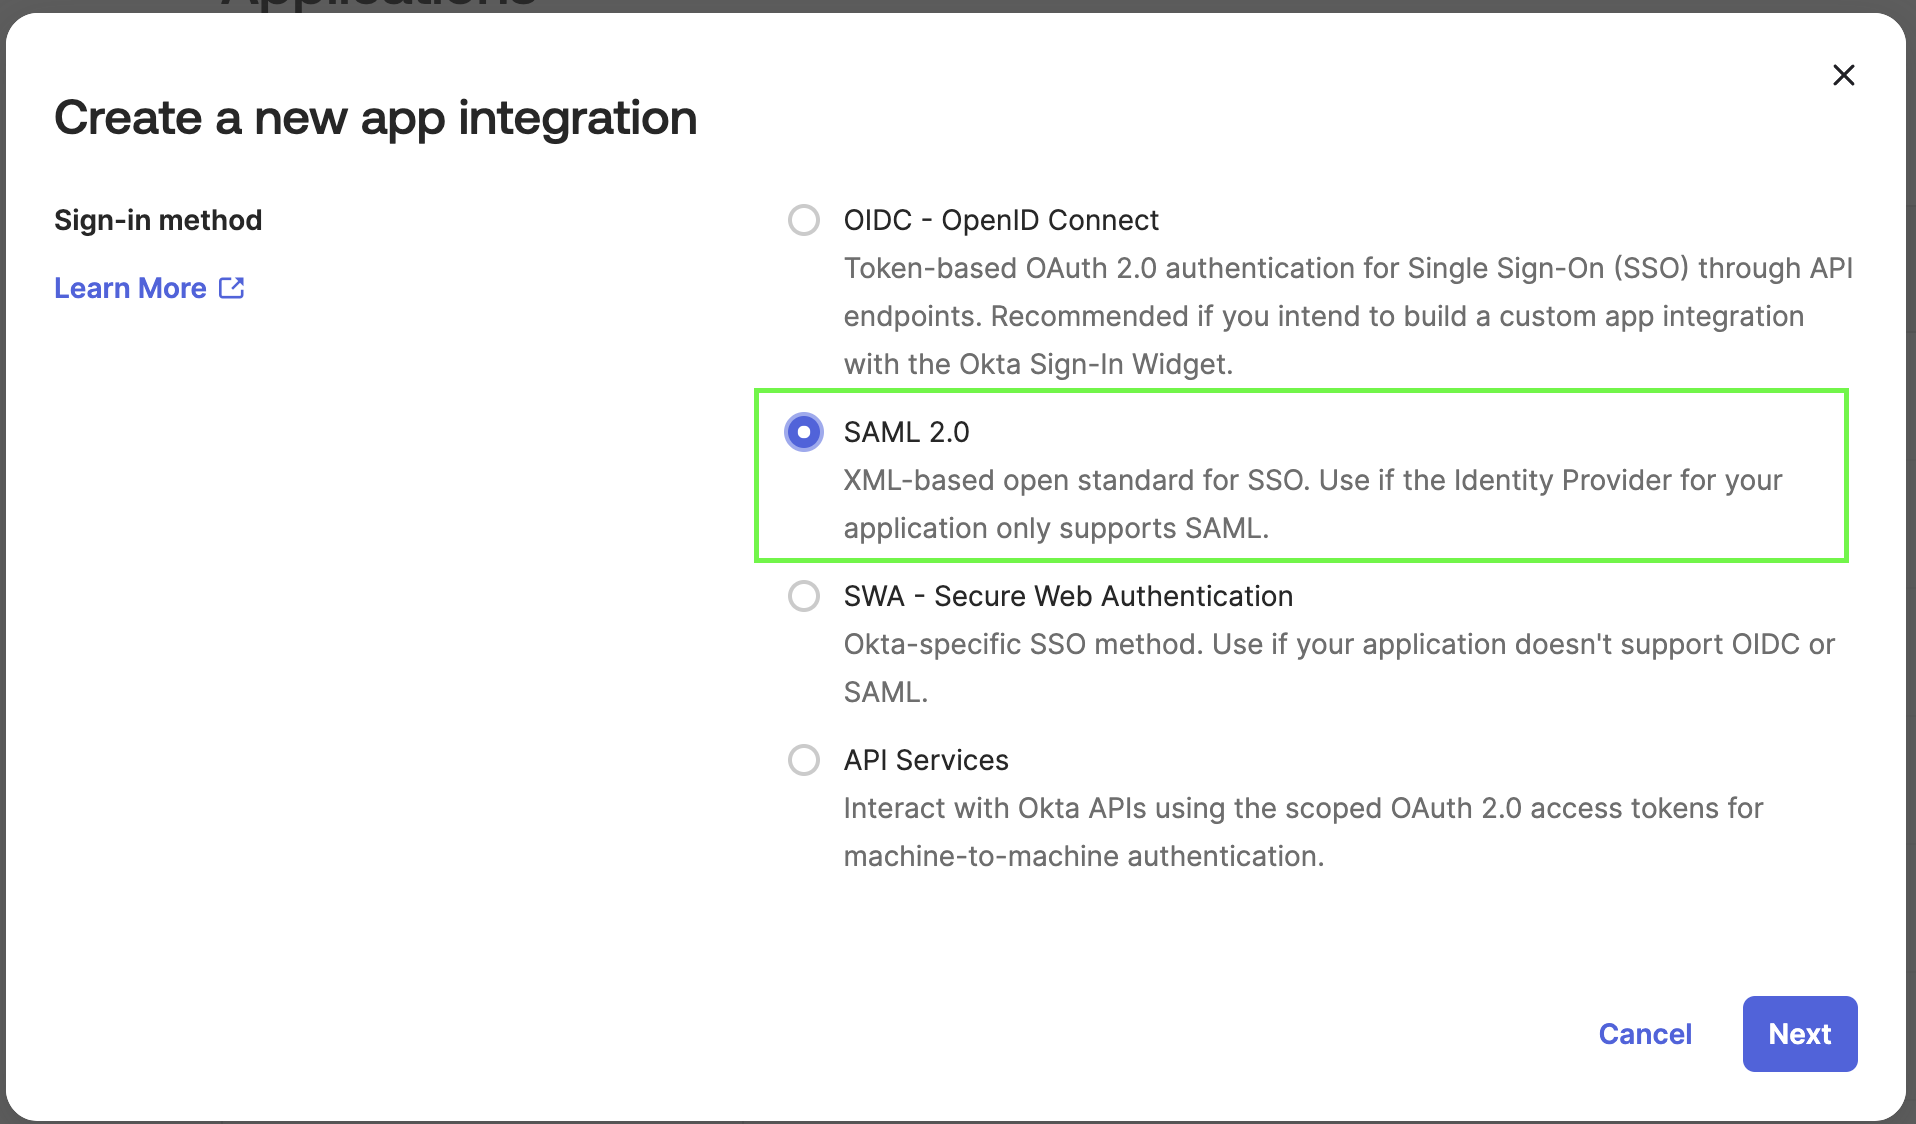
Click SAML 2.0.
-
Click Next.
-
In App name enter
investigate.
-
Click Next.
-
In Single sign-on URL, enter
http://localhost:5606/investigate-access-control/saml/callback -
In Audience URI (SP Entity ID), enter
siren-saml. -
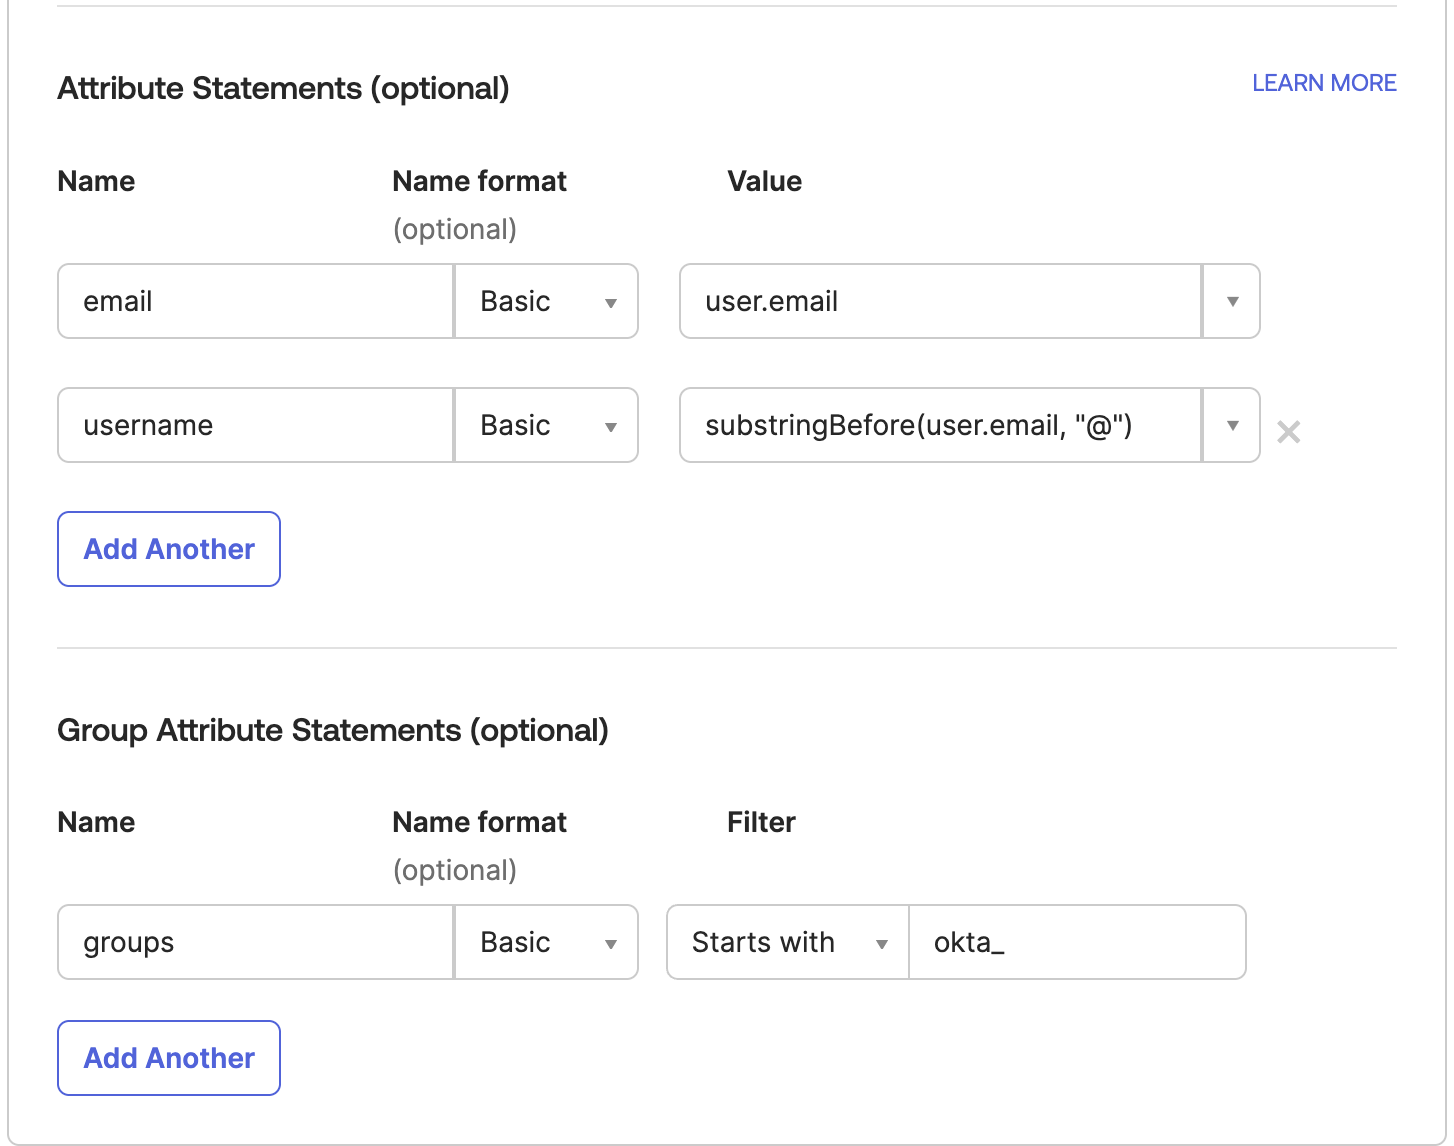
Add all values like on the below screenshot.
-
In Single Logout URL, enter
http://localhost:5606/investigate-access-control/saml/logout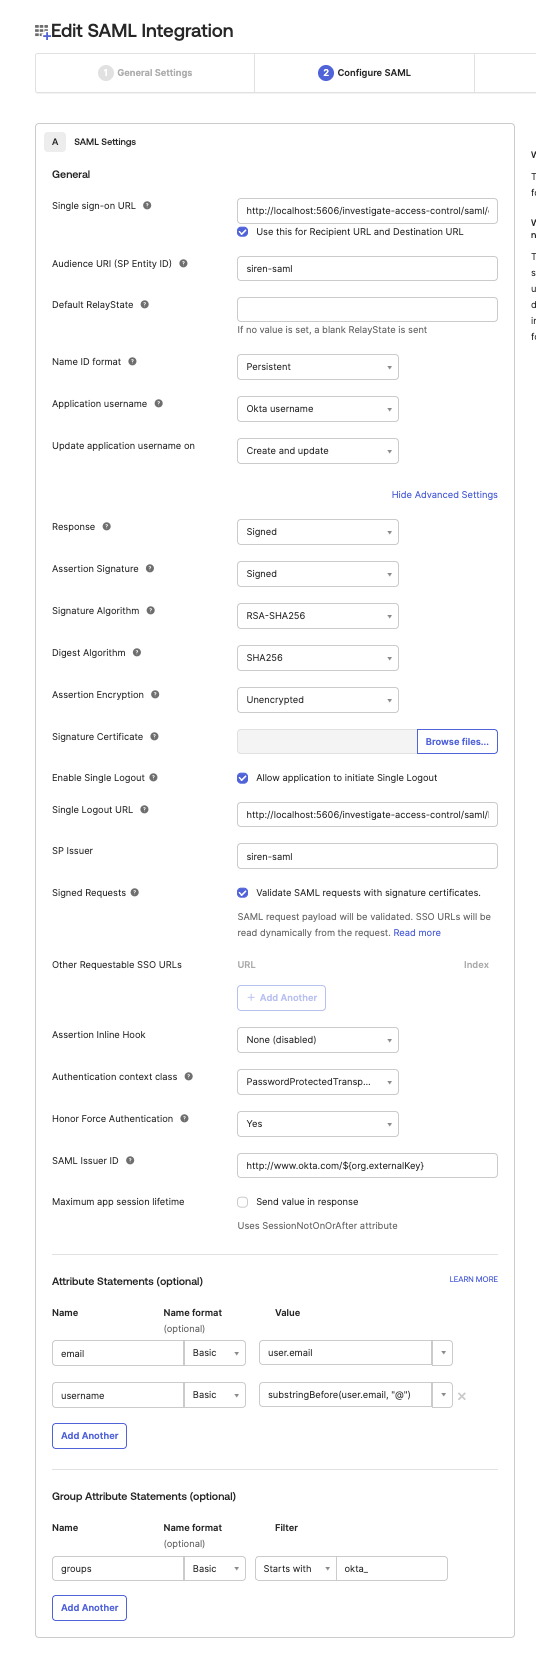
-
Generate private key and cert for Elasticsearch.
cd TEMP_FOLDER
openssl req -x509 -newkey rsa:2048 -keyout saml-sign.key -out saml-sign.crt -days 365 -nodes -subj "/CN=elasticsearch"
this should generate two files
saml-sign.certandsaml-sign.key -
Upload
saml-sign.certto the OKTA app advanced settings. Note: These files will be needed to configure Elasticsearch later.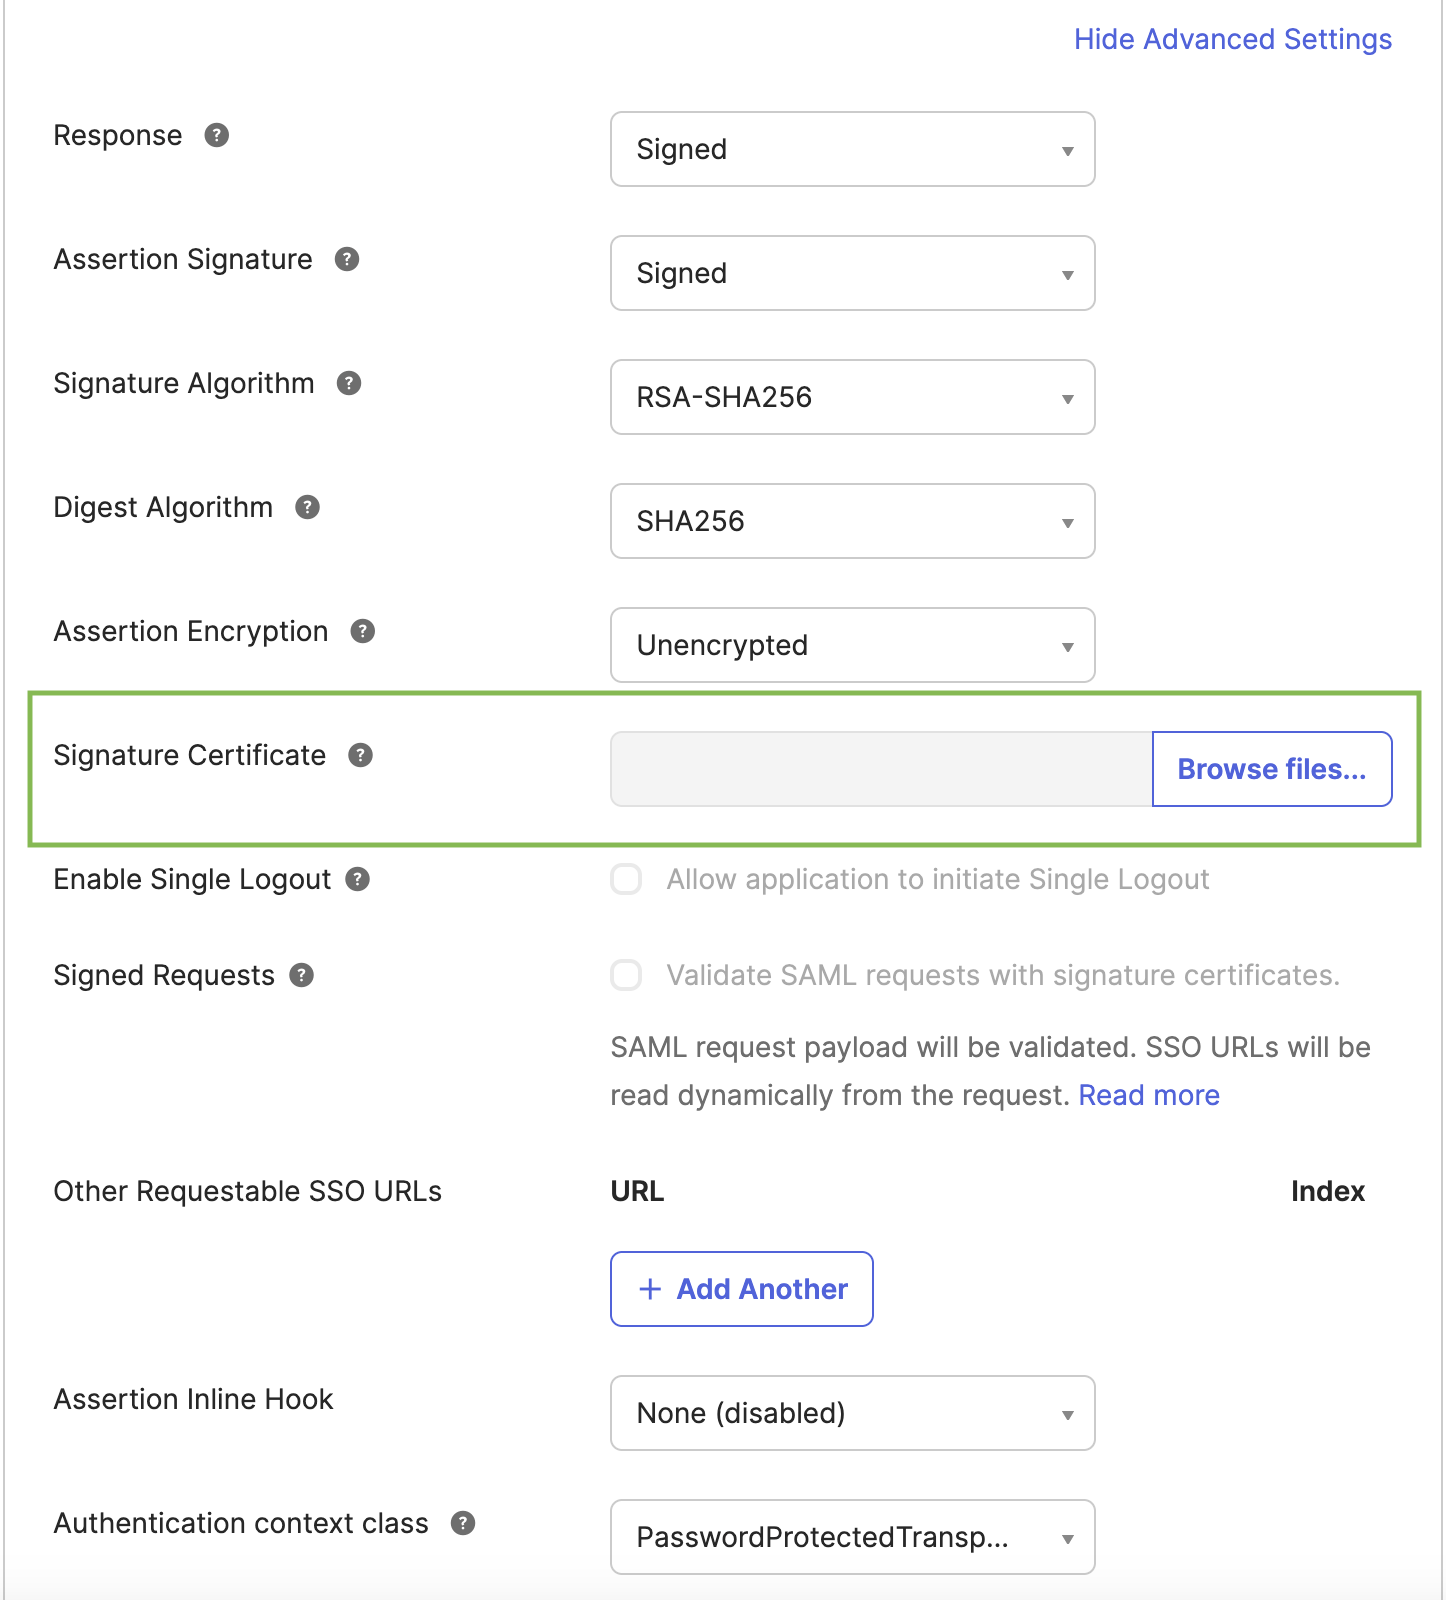
-
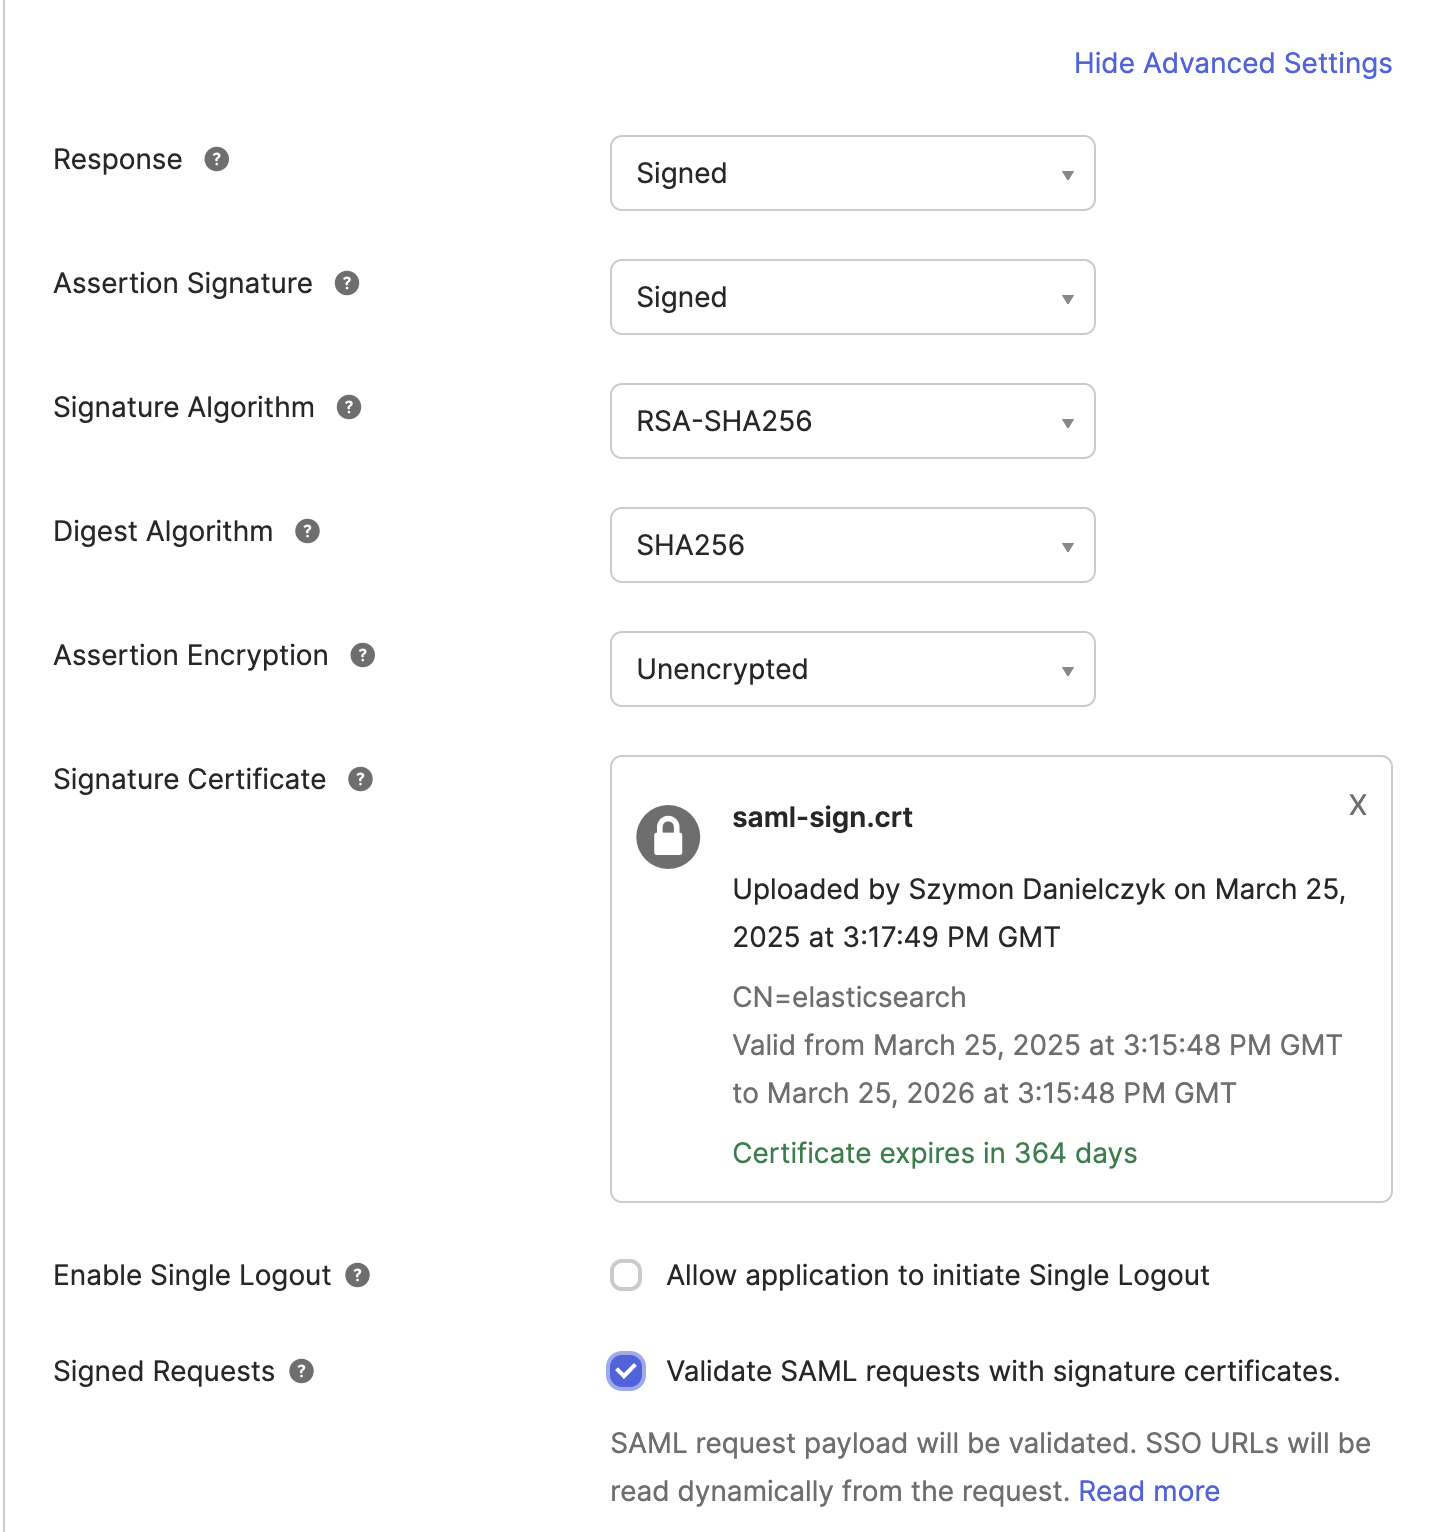
Check that the upload was successful. You should see the following:
-
Click Next and then select This is an internal app that we have created.
-
Click Finish.
Fetching idp metadata
-
Go to Investigate → Sign On tab.
-
Fetch the metadata XML file and save it in TEMP_FOLDER as
okta-idp-metadata.xml.
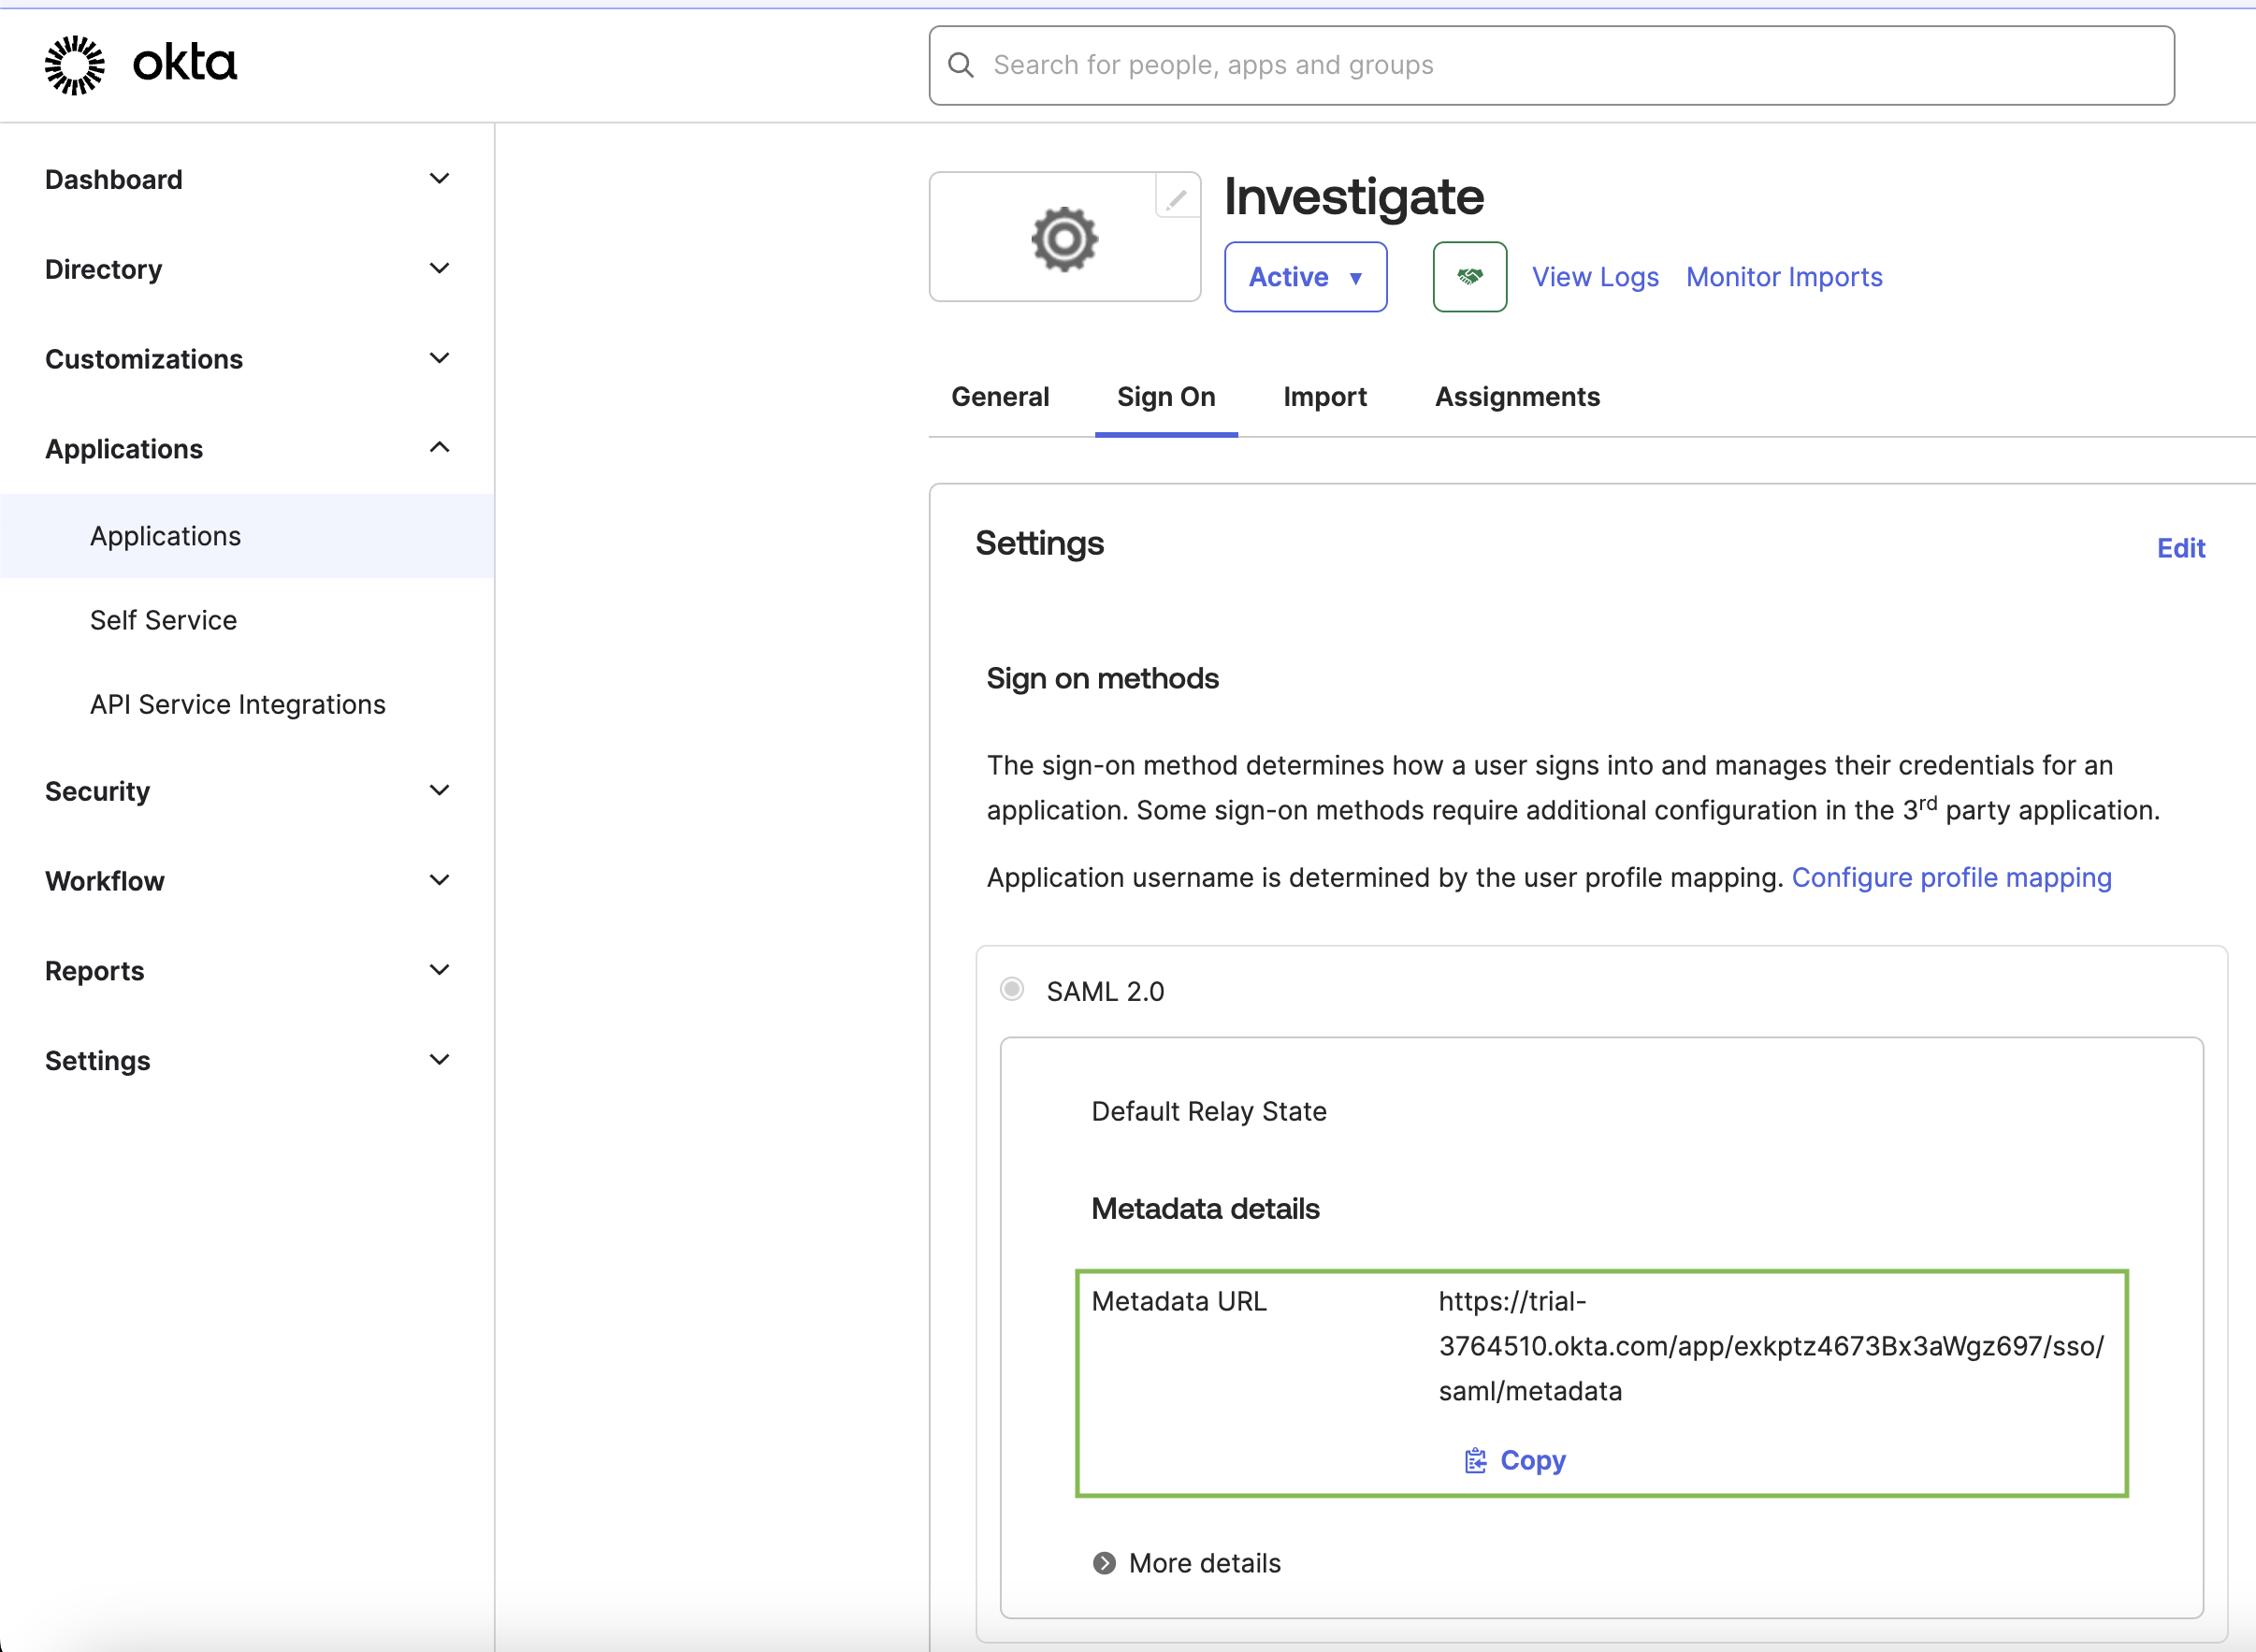
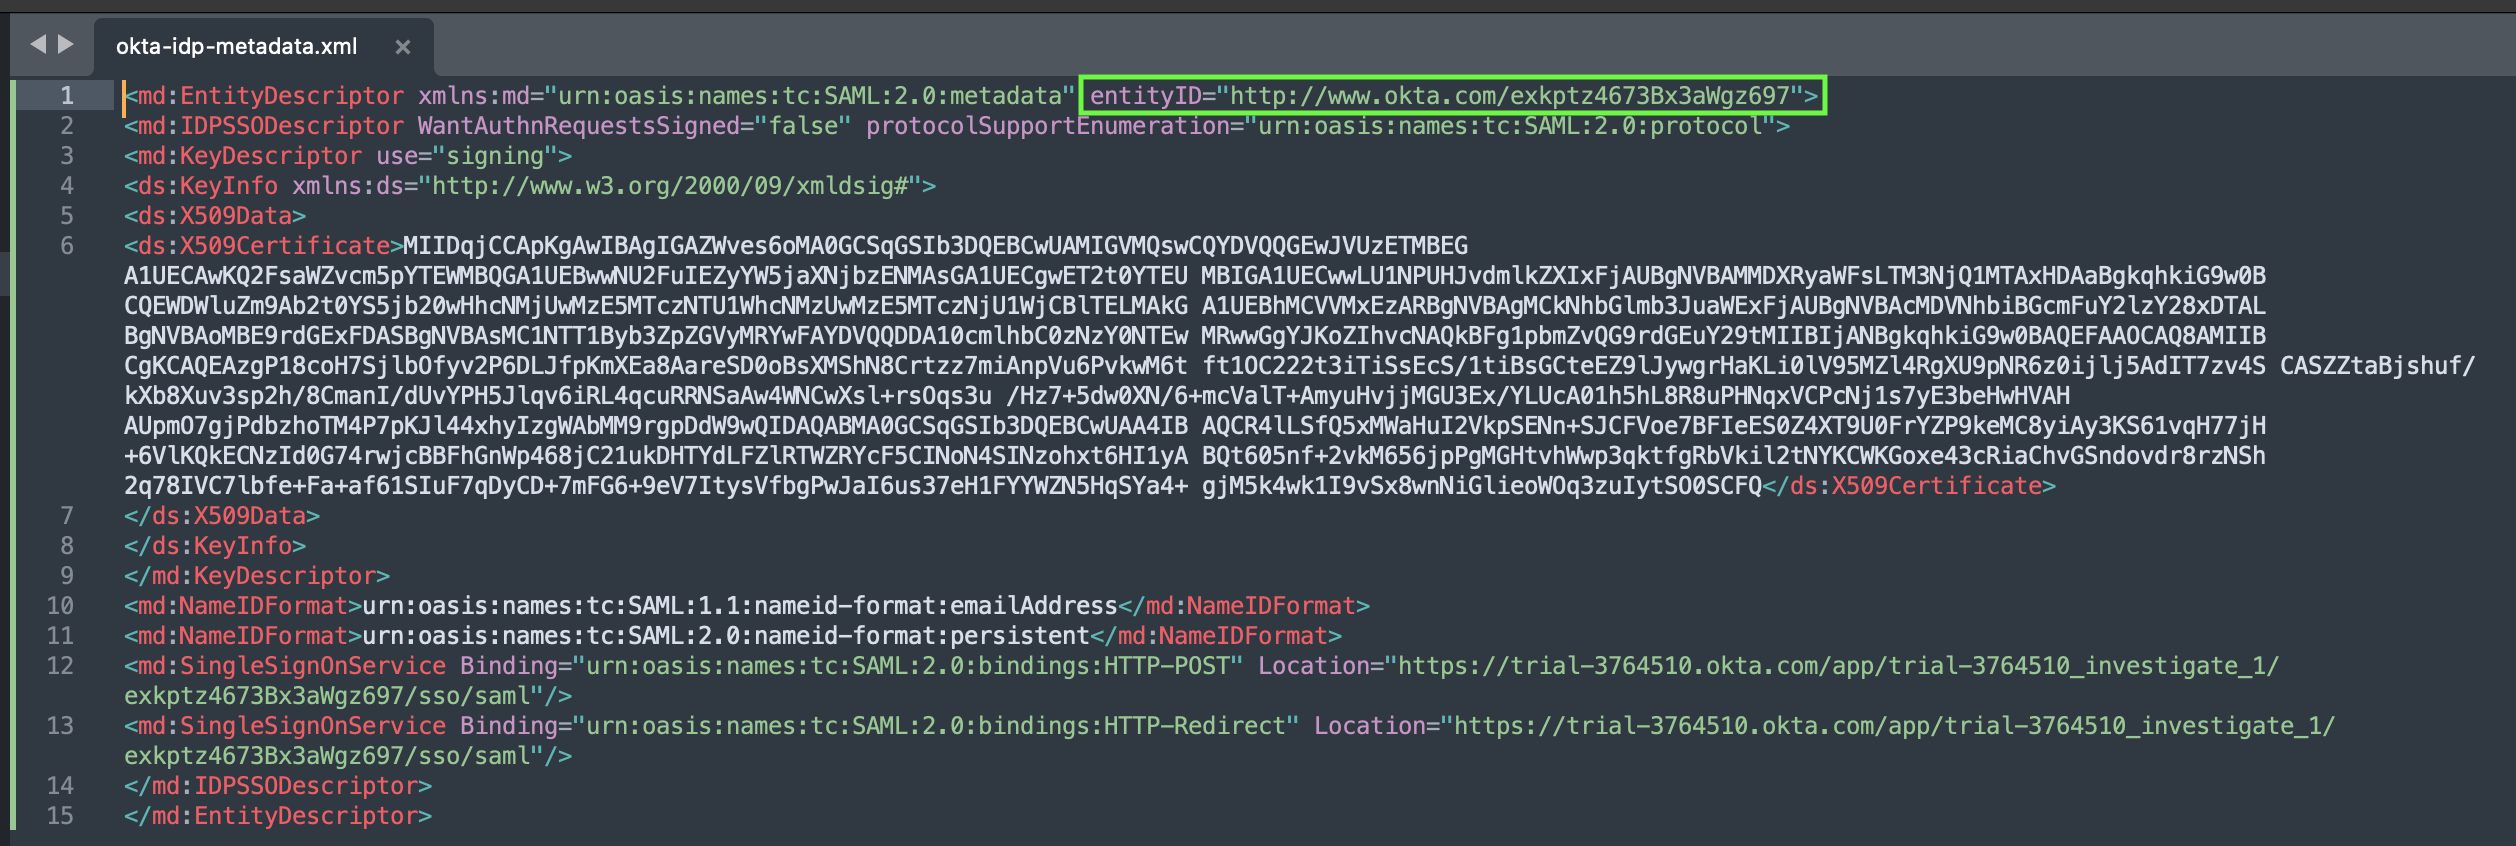
It will look something like the following:
|
We will configure Elasticsearch to read the metadata from file (not from the URL) every time you make a change in the app configuration you have to re-fetch and re-save this file. |
Configuring Elasticsearch
-
Execute the following command:
mkdir <ELASTICSEARCH_BASE_DIR>/config/saml cp <TEMP_DIR>/okta-idp-metadata.xml <TEMP_DIR>/saml-sign.crt <TEMP_DIR>/saml-sign.key <ELASTICSEARCH_BASE_DIR>/config/saml/ cd <ELASTICSEARCH_BASE_DIR> bin/elasticsearch-plugin install -b https://download.support.siren.io/federate/8.15.5-37.2.zip -
Edit
elasticsearch.ymlcluster.name: siren-distribution node.name: siren-node ingest.geoip.downloader.enabled: false xpack.ml.enabled: false discovery.type: single-node indices.query.bool.max_clause_count: 15000 indices.breaker.total.use_real_memory: false cluster.routing.allocation.disk.watermark.low: 3gb cluster.routing.allocation.disk.watermark.high: 2gb cluster.routing.allocation.disk.watermark.flood_stage: 1gb siren.dataspaces.jws.pubkey: 'MIIBIjANBgkqhkiG9w0BAQEFAAOCAQ8AMIIBCgKCAQEA3CVFpHclqIEEERUhC/oDB+8ib+nDGIcmrIppGmmsmj5K65XCCZmHilR2fx9CNbjR5WLQDeOT0zhK0FHip41qNbOGwLbz1ehpquEwR/+W6bKyWkk0wMoS1npVSIZL0QygjatIszjKIgOti2FEzPxFxmHoroVluRTm84oIuY+KX/ExxLbS69ORJ8MUFu5oc/B1lNSmWwCCQlJmjjKR4RJt81otQkRQ+tMQS6Aek/bQWz23HhMBypwdXbXlZsLOO4ZKTWQrIZ1F32c+/6+mnvW2UKCISSLucKWBj3/sIMoKXKfFjsfyb41O9DXO3BZcQkWvw98mRhiZ/VzPUz6nwJd3UwIDAQAB' xpack.security: enabled: true authc: token.enabled: true realms: native: native1: order: 0 saml: saml1: order: 2 nameid_format: "urn:oasis:names:tc:SAML:2.0:nameid-format:persistent" attributes: principal: "username" groups: "groups" idp: metadata.path: "<ELASTICSEARCH_BASE_DIR>/config/saml/okta-idp-metadata.xml" entity_id: "http://www.okta.com/exkptz4673Bx3aWgz697" # <-- this id MUST match the entityId property from okta-idp-metadata.xml sp: entity_id: "siren-saml" # <-- must match Audience Restriction in okta acs: "http://localhost:5606/investigate-access-control/saml/callback" logout: "http://localhost:5606/investigate-access-control/logout" signing: certificate: "<ELASTICSEARCH_BASE_DIR>/config/saml/saml-sign.crt" key: "<ELASTICSEARCH_BASE_DIR>/config/saml/saml-sign.key" -
Start Elasticsearch and configure basic users:
./bin/elasticsearch./bin/elasticsearch-setup-passwords interactive -
Answer
passwordfor all users. -
Activate the trial license. Without it, SAML realm configuration will NOT work.
curl -uelastic:password -XPOST "http://localhost:9200/_license/start_trial?acknowledge=true" {"acknowledged":true,"trial_was_started":true,"type":"trial"} -
Stop and start Elasticsearch:
CTRL+C ./bin/elasticsearch -
Install Investigate users and roles:
chmod 755 <INVESTIGATE_BASE_DIR>/docs/modules/siren-investigate/attachments/xpack/full/initroles.sh chmod 755 <INVESTIGATE_BASE_DIR>/docs/modules/siren-investigate/attachments/xpack/initusers.sh <INVESTIGATE_BASE_DIR>/docs/modules/siren-investigate/attachments/xpack/full/initroles.sh # here answer only to second question <INVESTIGATE_BASE_DIR>/docs/modules/siren-investigate/attachments/xpack/initusers.sh # here answer only to second question -
Install the Investigate license.
curl -XPUT -uelastic:password -H 'Content-Type: application/json' -T investigate-license http://localhost:9200/_siren/license -
Add role mappings to map keycloak grouls to the Elasticsearch roles:
curl -k -XPUT -uelastic:password http://localhost:9200/_security/role_mapping/investigate_okta_admin -H "Content-Type: application/json" -d '{
  "roles": [ "investigate_admin" ],
  "enabled": true,
  "rules": { "all": [
        { "field": { "realm.name": "saml1" } },
        { "field": { "groups": "okta_siren_admin_group"} }
  ] }
}'

curl -k -XPUT -uelastic:password http://localhost:9200/_security/role_mapping/investigate_okta_user -H "Content-Type: application/json" -d '{
  "roles": [ "investigate_user" ],
  "enabled": true,
  "rules": { "all": [
        { "field": { "realm.name": "saml1" } },
        { "field": { "groups": "okta_siren_user_group"} }
  ] }
}'
Configuring Investigate
-
Create a file called
<INVESTIGATE_BASE_DIR>/config/investigate.pemand put the following content in it:-----BEGIN ENCRYPTED PRIVATE KEY----- MIIFLTBXBgkqhkiG9w0BBQ0wSjApBgkqhkiG9w0BBQwwHAQI5RowBBav9eoCAggA MAwGCCqGSIb3DQIJBQAwHQYJYIZIAWUDBAEqBBBpIom89hacC7qJ8hDGmUsFBIIE 0OYf4hPaJWAEo229xSY6tBoM222HpTVXFmlSiZeU+lMq53xig6viX+dhj0+EOX7y JSxGo3wBmHLoYDKLp90sDqA/nuVKSCtI09ARDzZA3hNa+9Pvc9NKfD9XiNRkWnbR NwbjkHRCuI7e/jLTp6dCmKC3fXN8ZUJgkVsavQYlHIEQs8aYB5nIo/GXRRUBuyYE DR1tBYW81DvZ/2j7vsNWUlJGUY7KGiHatYOeFbtKl0V9yRdAqxRNaFnUjKWoh42S aQ3W3qSu5bDO2g329eVFNtVzCYwsIic7iTbtAn/pBIFwMO6jCIzwvUnN3feyXQSI kbQBt7M58N2jpar6Tgr67boZqy8aqFvxzWg69vJ90XBvHN8Wp8hHdpm+77Kmd+qQ oDR6Hgc+vwfub2NWZFS8/dEUYJAyGm32NlsvoCoKBXlP7STub42gxbN4CYv22FMy gFXHyRhP3tyufz7QvoThMNLi2w7yGthbGEouFMAEbmuxZldv5qpManqFV4vU5Vl8 iYSJmwE4xVRHUnU6sHe0QiMXqm4+Ez5crwB5hiT/1plyWmeJ9M9e8KtTO2hg+MPe P6eE9DYIfwY4TfU4CnvfLnWLfA/CIEq+70D00bPZbgVFNSxq8RWJ+zioVb4Pe7fc JXA3fIHF5qVlU5acssMayDmJR6ALMDWH6Cx5gxJ/zEKScRVo5Lm9a8N6xi6Z9LDn favQIYu8Z3qSNVBNwMQGYXezd/BfOF43RHUK4nSMIT8cNnKaMI1xtJKVI9QUTdw1 yM1/v24T/sdgcpAzKAfz4qJJORIUoY4QaFohBiOd/lwYjXEe7dbB4DfA/2yIQndB IByVApBSi8cf8IeoqUuDoypENCEMb7tjMtUiHxkyDGFf7d8owy53J9AtcoKdK1UC ucPeBcmBjkj4bZrsPhjETf0bw0xzSzpM6qOs/0s2/HKTP0ed/aDoGzDPm4g1lpMa KVp/+oLUmaCG06+pJMCl9jWJ1SK9GkANMQPbayKh/dQBahfR5egqOF2s26LyzFix pP83FcLIZ3oCpGNYMxBCoQPGN9R2zohUdsBFOLnuOLfZAEdbie2PMFdcGlZQCUGu uQWsdiAQRWRvAk1DBqvYztg8cGkvt8fNvnBgod1ch7FaOh1g6XGrypBsvjBibp3d 09oqNuIdQYtwsD0ymuLuOcGjitfkf5nxcNal4uFNkvwaE36aXXznPLyWMTEhEyYe skY2/r1aUxoU3UUQgvfgl/pBK8J8MfuF2Do3z17HwkTjMZ4N4/PDiIOis4CQCl5T f3zgZjgpgZxvbbtke35CX8W3t7vyR9EmQQa6IVeEC4sEPP+DSxac90hWjTRe+8bv /NuF7SnCTwFcEAg2r8oy9QlPZFPuPZ9c8n1Z142QfwQVih+wD1hmlyduENxY/TjP D7gkT4BvIou6aso/QSlo4SuMs1WlCN/VK1kXe6O4rLarkjVEjZOkBdi8YlSfmX0G bwkNYkpPK0l1g7jT0uDXcoVGqsFc7V7oi1RhrDeSVuFdWGlZKE1R62czC9fjEDS9 FB6HqzIwyEp5GoMl2P4aw2XR7rz71FypOf7UnF5C35m4IRP90gpXhtCQogmBEchi Cl84WgWfjSJaYoiecK4T1nS8o3D9jwA8SI7g8tN23yRx -----END ENCRYPTED PRIVATE KEY----- -
Edit
config/investigate.ymlas follows:elasticsearch.url: "http://localhost:9200" elasticsearch.username: "sirenserver" elasticsearch.password: "password" server.ssl.enabled: false elasticsearch.ssl.verificationMode: none server.host: "0.0.0.0" shared_index_components: enabled: true dataspaceSignature: algorithm: 'RS256' privateKey: key: 'config/investigate.pem' passphrase: 'password' logging.promoteDebug: tags: [] #'samlAuth', 'samlLogin', 'samlLogout' toLevel: 'info' investigate_access_control: enabled: true acl: enabled: true admin_role: investigate_admin session: backend: false cookie: name: 'kac' password: '12345678123456781234567812345678' secure: false backend: xpack backends: xpack: authenticator: saml saml: realm: saml1 -
Start investigate:
./bin/investigate
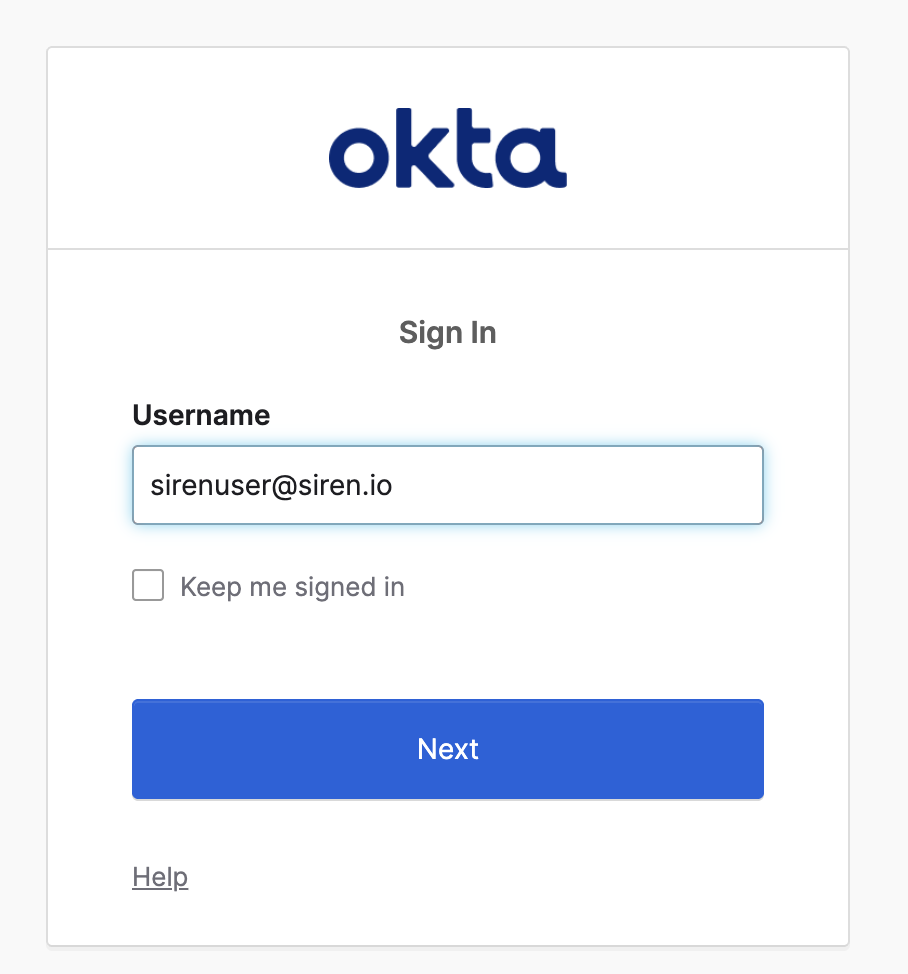
Testing login
-
Go to localhost:5606. You should be redirected to keycloak.
-
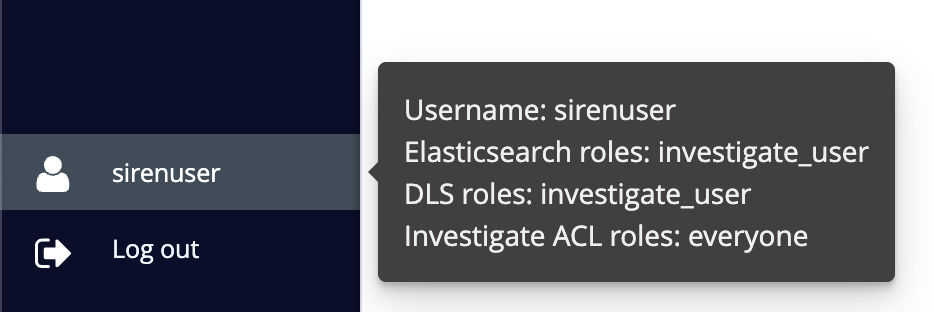
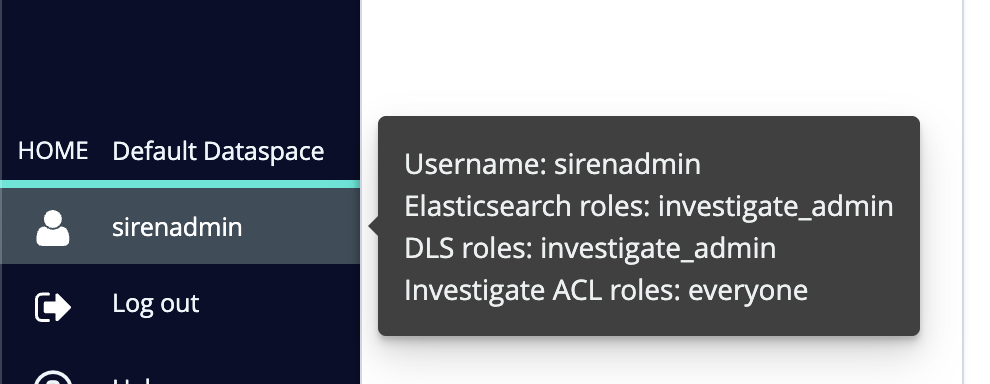
Login with
sirenadminpassword. You should be redirected back to Investigate where you should see yourself logged assirenadminmapped to properesroles.
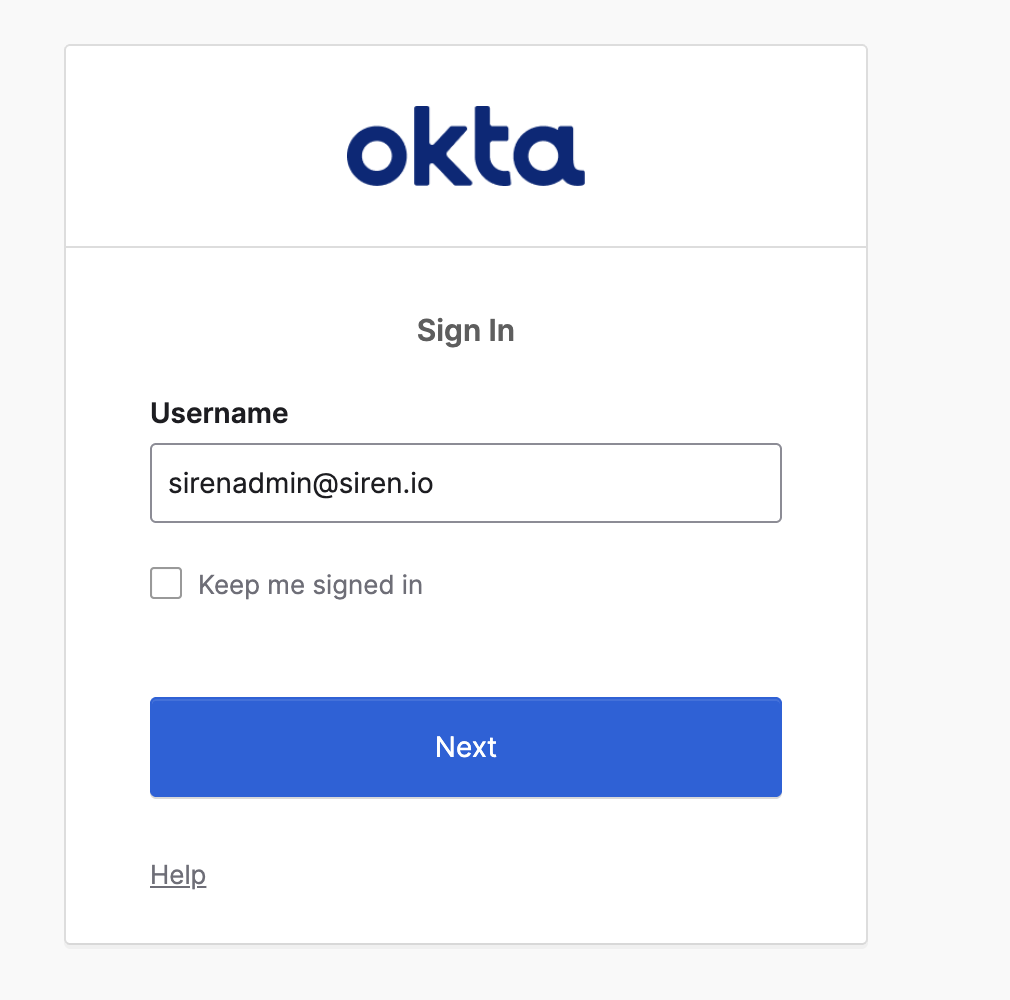
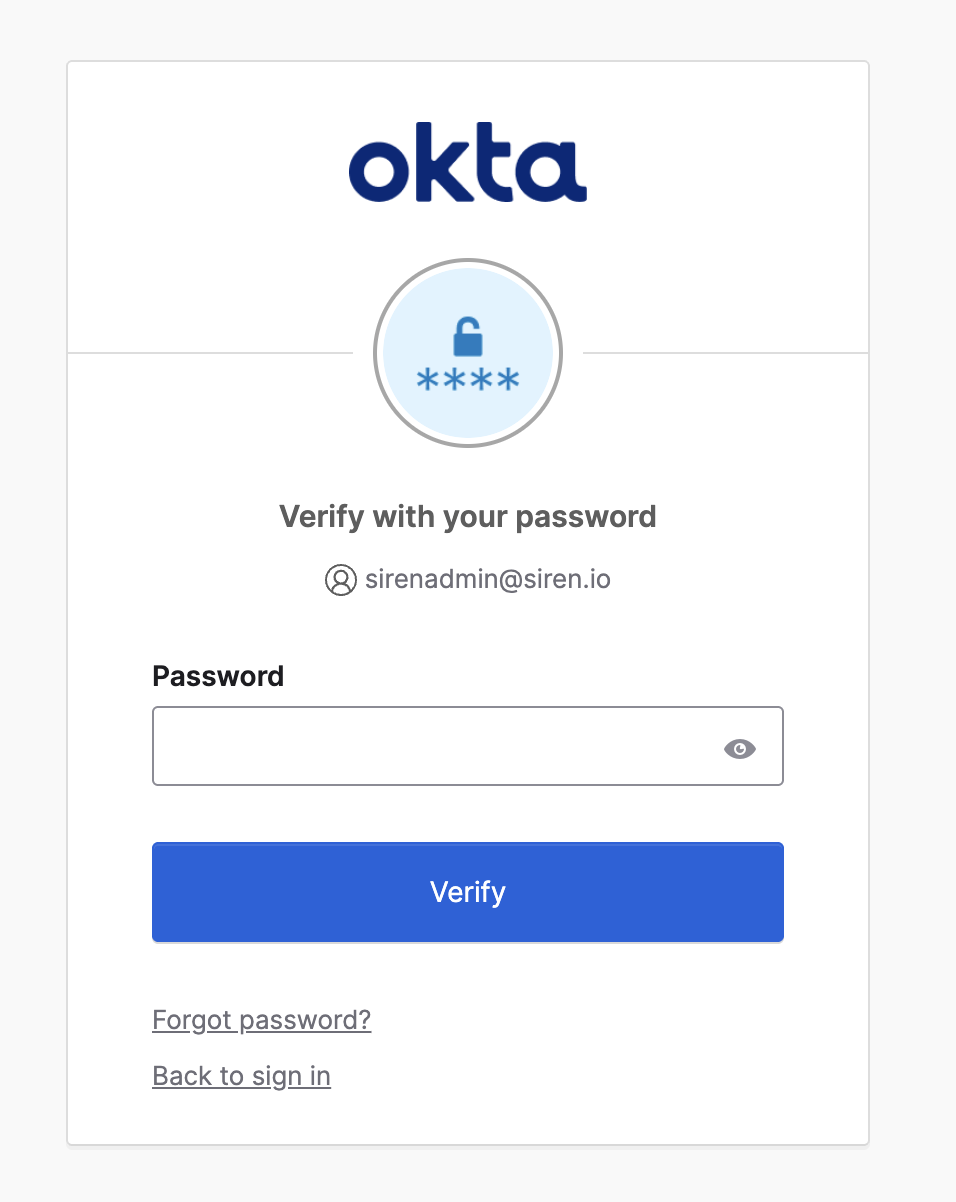
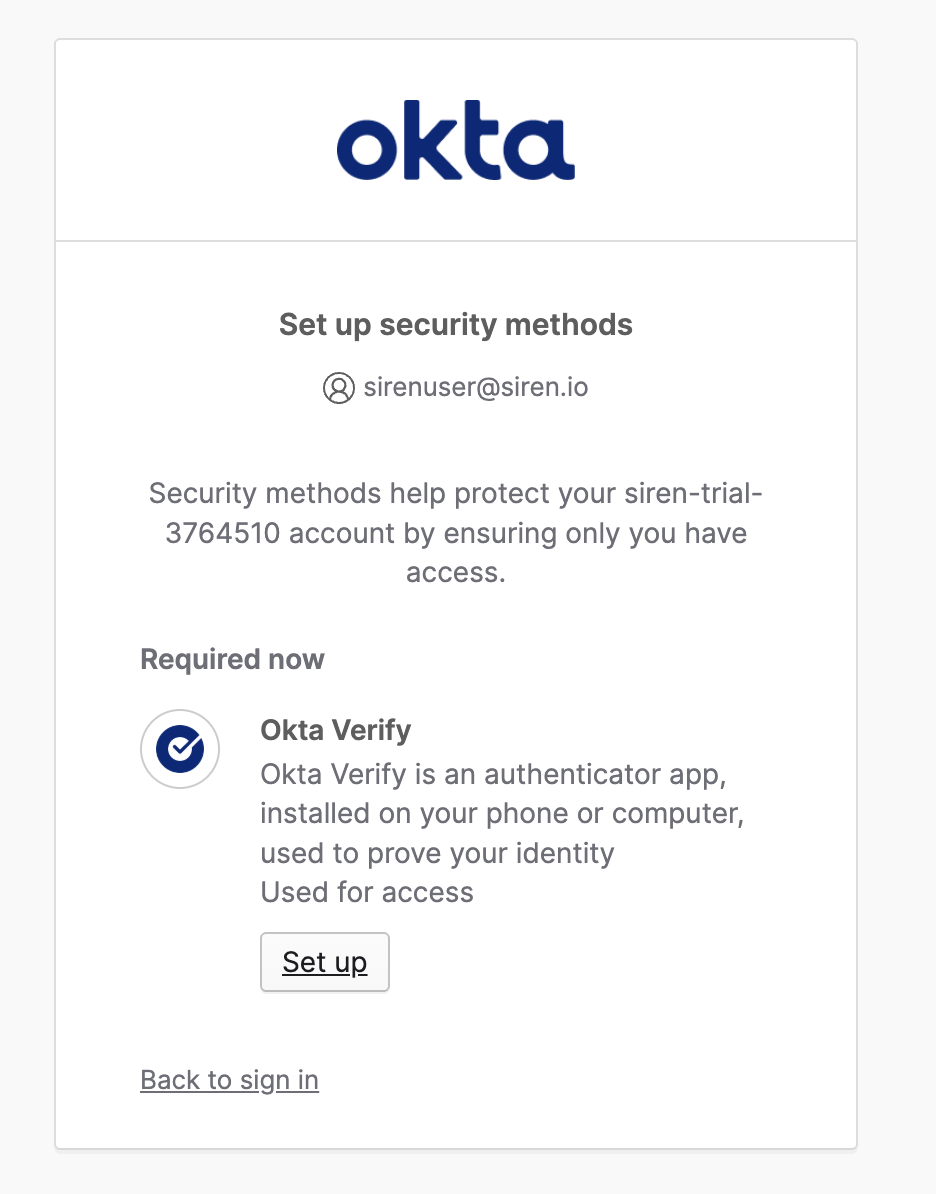
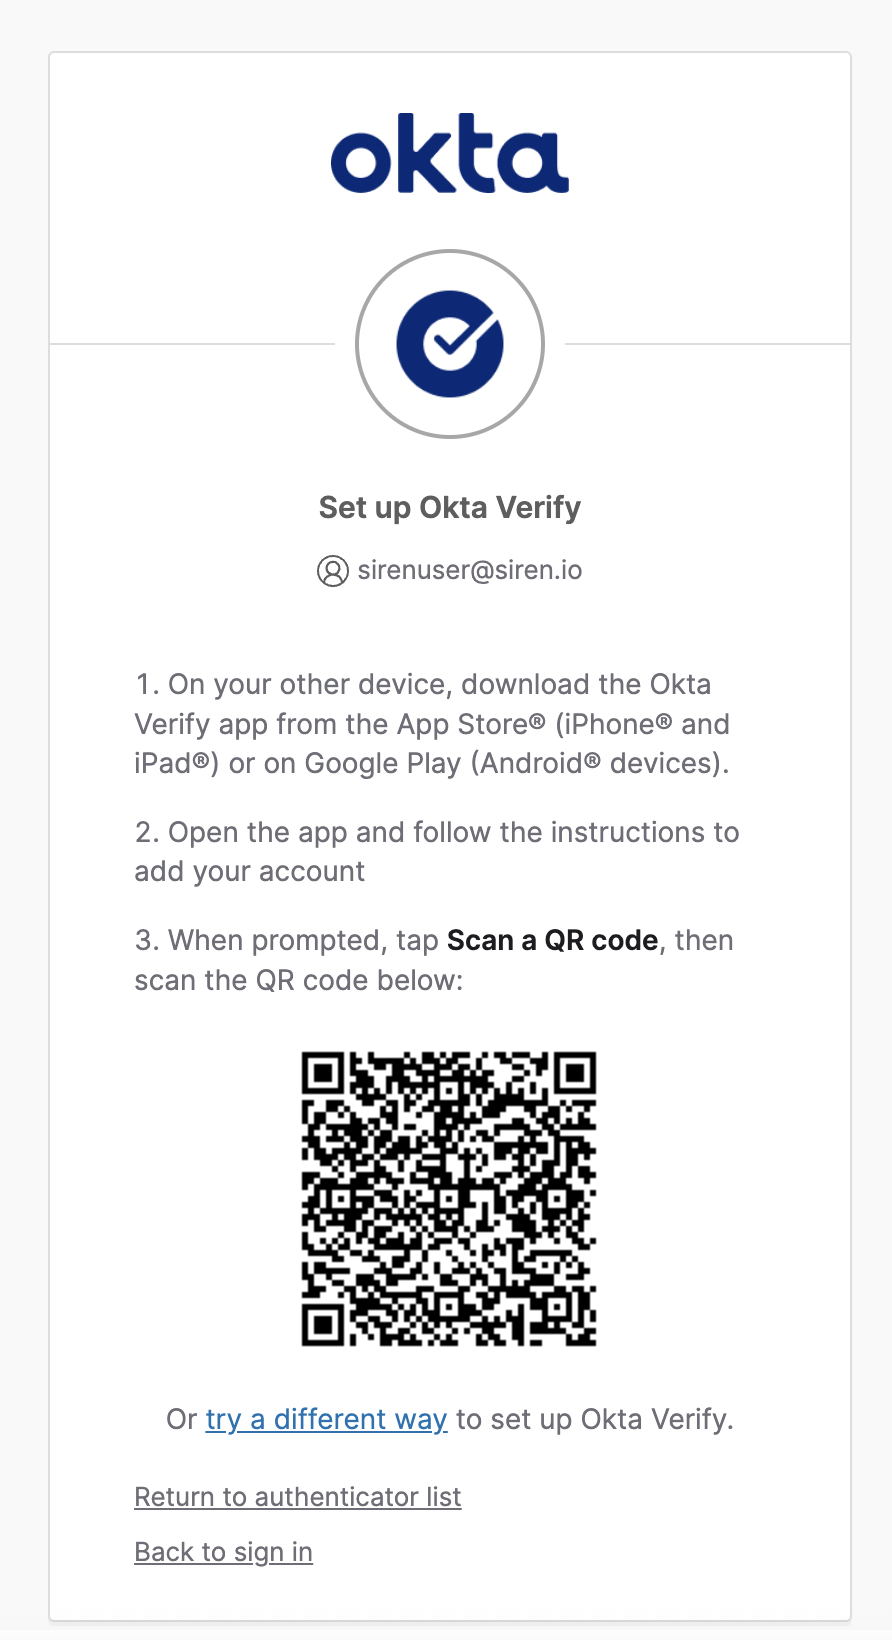
When logging in for the first time, you might have to setup 2-factor authentication. The following are example screens when doing this for sirenuser